Coffee Cozy
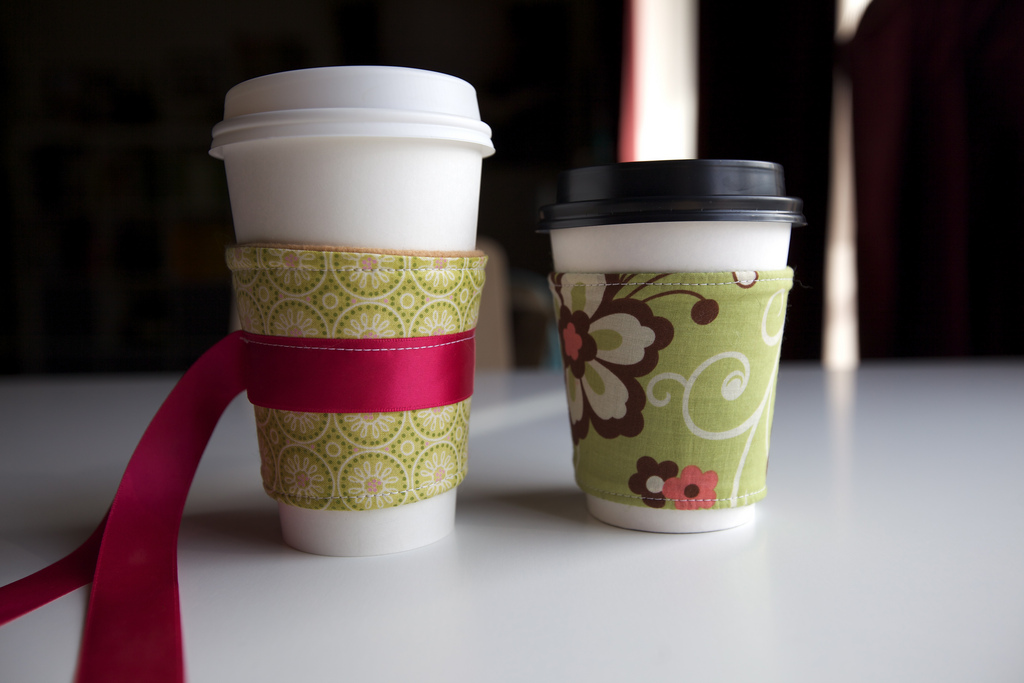 In case I hadn’t made it clear in some previous post, I love coffee. Mostly I love the rich flavor of a good espresso, but I won’t lie, I can’t go without my daily caffeine boost. I don’t often get coffee to go, but when the occasion arises, I come prepared with my own coffee cozy. It’s not quite as earth friendly as bringing your own mug, but its much more convenient as I can carry one in my purse all the time. Not to mention, they’re damn cute. I made these one night after seeing some adorable ones on various craft blogs and knew I had to have one. I used some scrap fabric and some felt to line them. They came together in just a few minutes.
Lucky for you…I’m including a tutorial on how to make one of your own AND giving away a cozy to one lucky reader. Better than an infomercial!
Before I get to the tutorial though, just wanted to let you all know I’m now on formspring. So if there’s something you’re curious about or just bored, feel free to ask me! Ok back to the cozies…
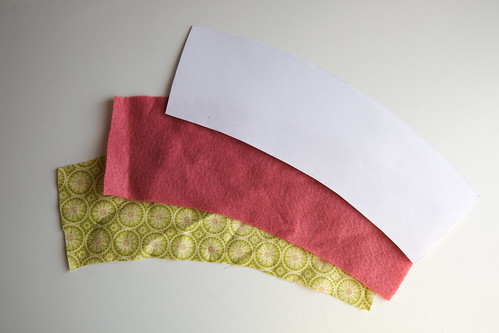
1. First print out the template I’ve included. Use the template to cut two pieces of fabric for your cozy, one out of felt, and the other out of a fabric of your choice.
2. Next take a piece of velcro and sew onto one side of the felt, being careful to leave space for seam allowances. I should probably tell you now that I rarely pin things, mainly because I am lazy, but you might want to baste or pin pieces in place.
3. Put your two fabric pieces together with the right sides facing. The velcro will be on the inside. Pin if necessary and trim any areas where the fabrics do not line up.
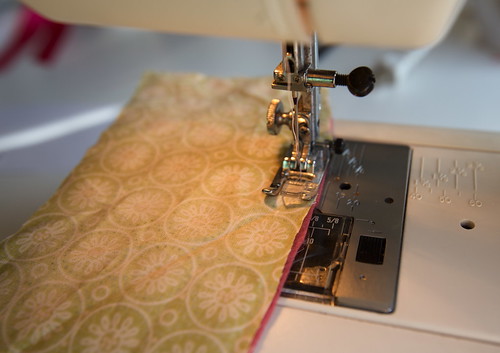
4. Sew along the two long edges and the short edge near the velcro, following a 3/8 inch seam allowance. Make sure to double back and secure any open ends.
5. Turn the cozy inside out, using a chopstick to poke out corners. Fold the unfinished edge inside and press the whole thing.
6. Sew around the outside edge of the whole cozy starting on the unfinished side about 1/8 inch away from the edge. You can use a matching thread or something contrasting, depending on what you prefer.
7. Last, sew the other half of the velcro on the outside so that it will meet the velcro on the inside. That’s it! Good work, I think you deserve some coffee.
If you like the cozy you see made in the tutorial, you can win it. All you have to do is comment and a winner will be chosen at random on March 7th. Good luck!
Update: and the cozy goes to…Christy! Congratulations!
Knit Heart
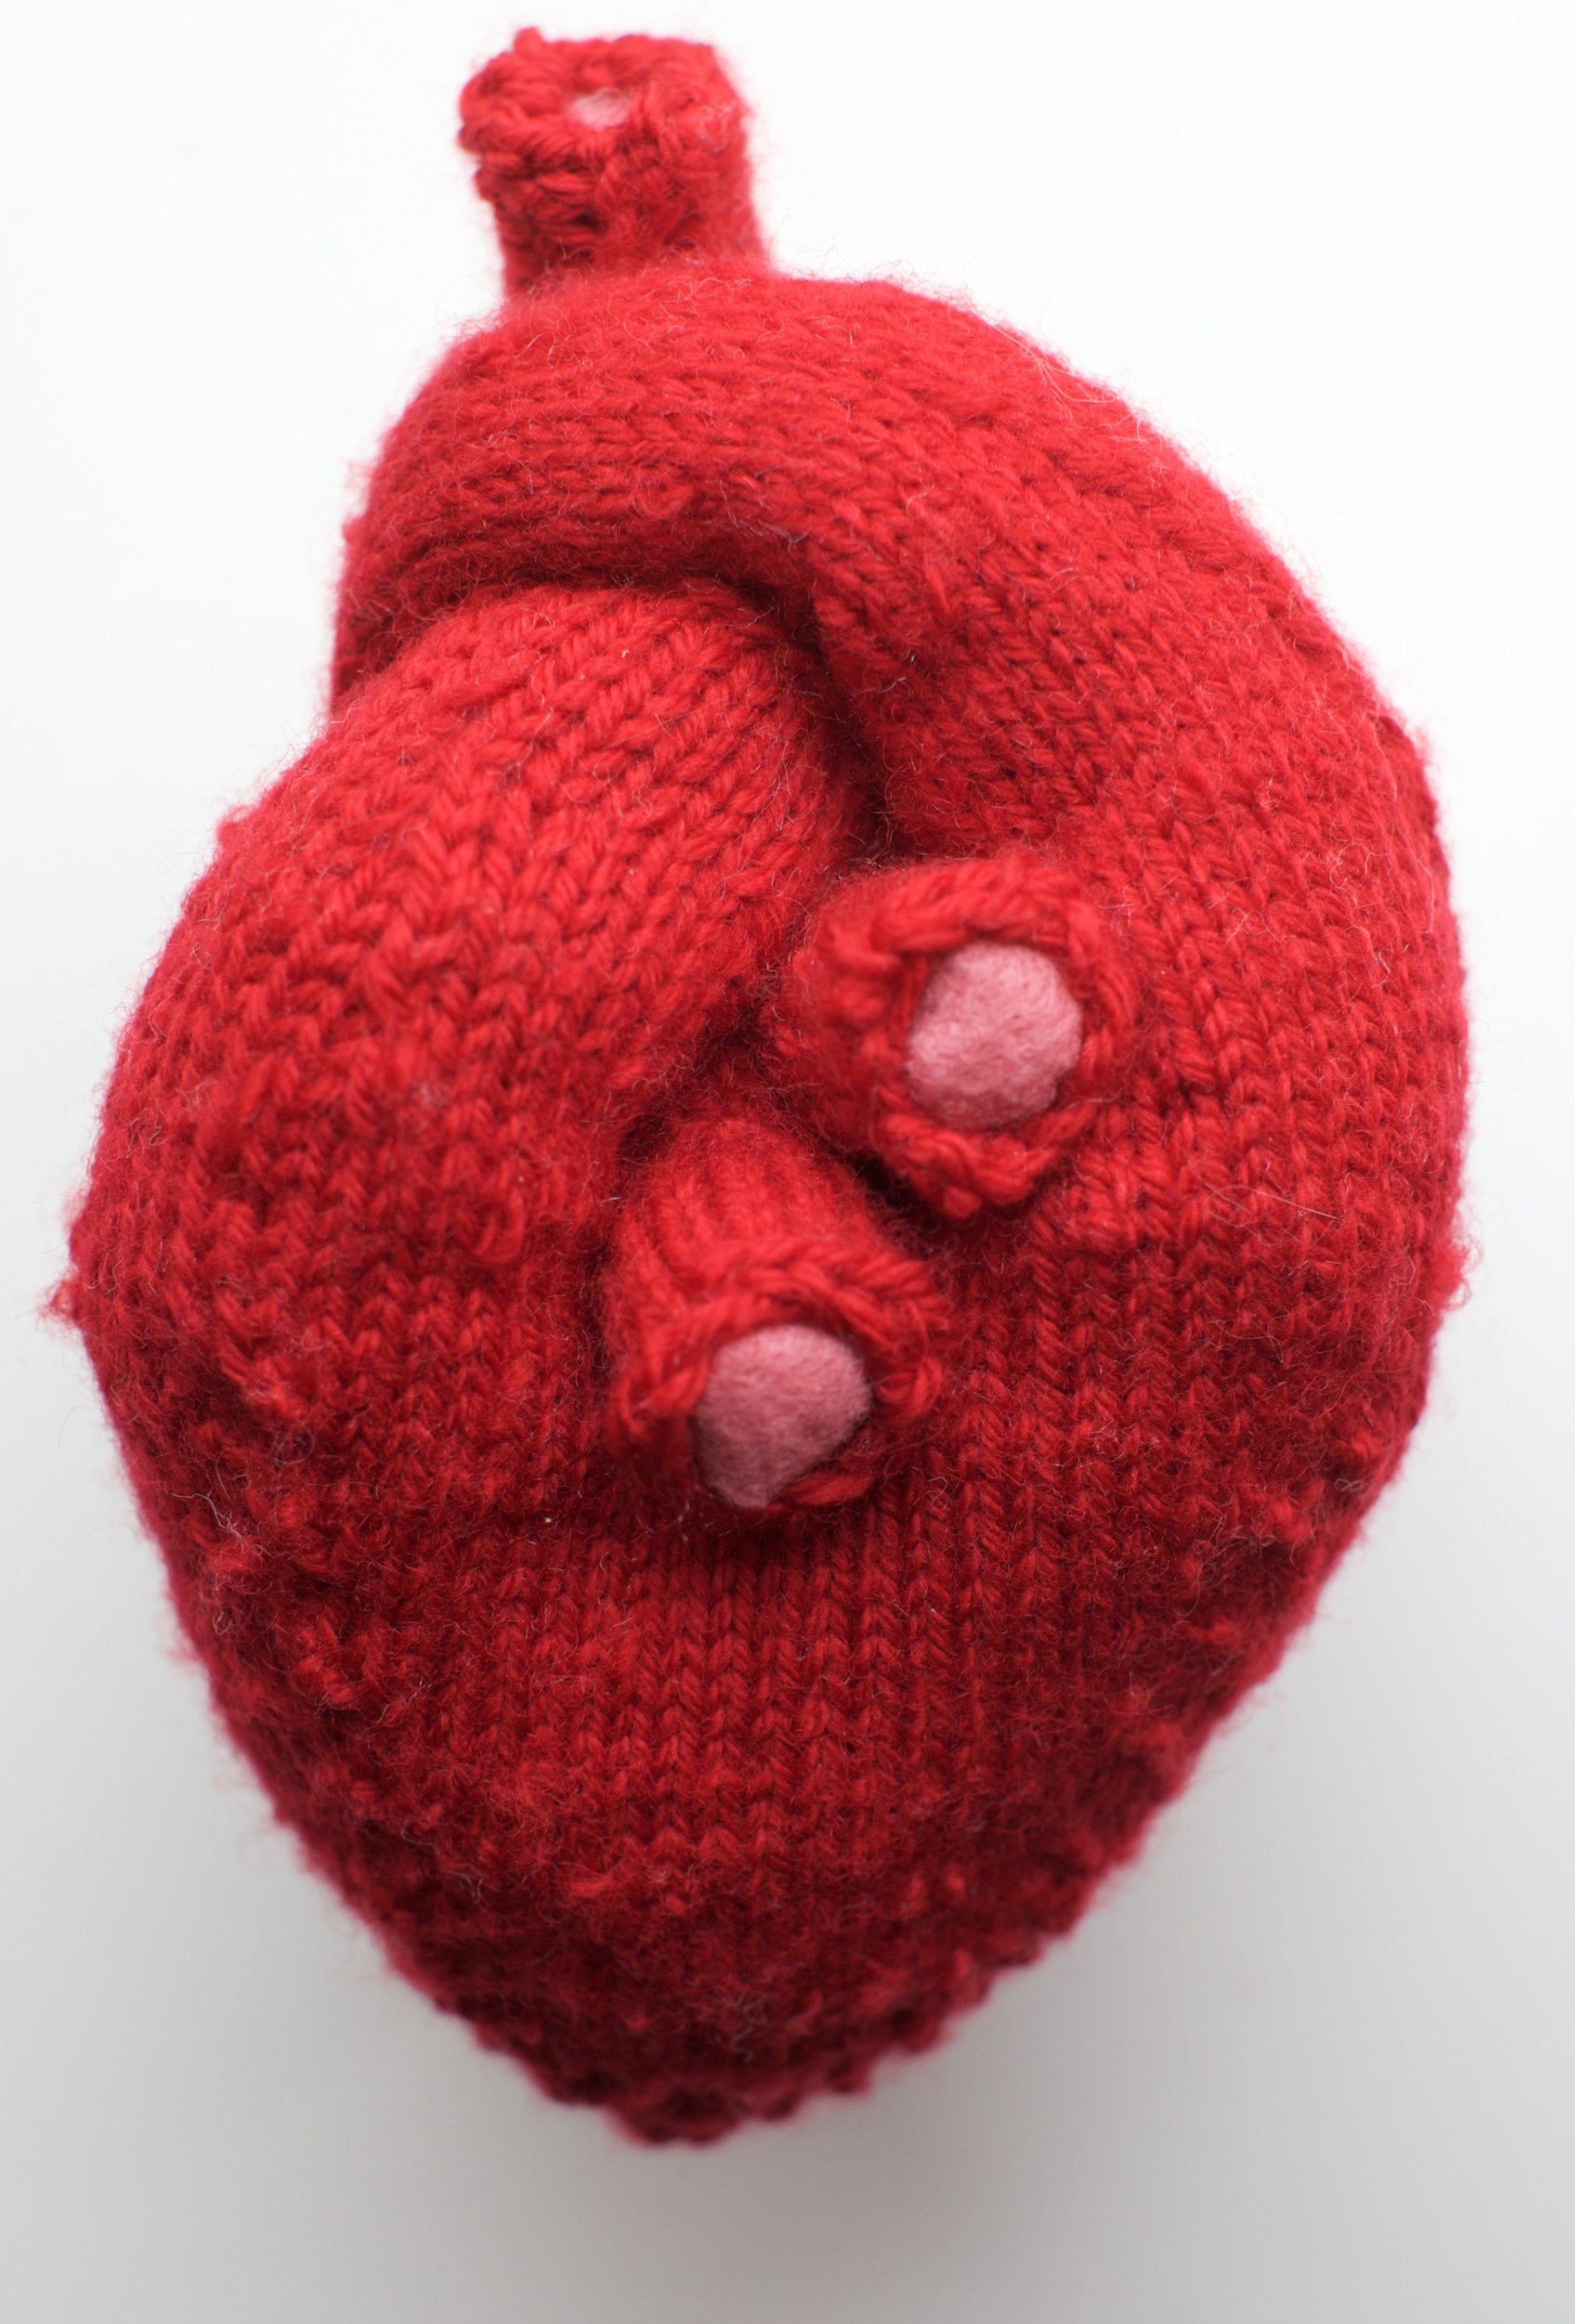 I’m a bit behind, it’s true, but I couldn’t not post about the valentine I gave my sweetheart Shawn for Valentine’s Day. Valentine’s day? Yes it may seem like ages ago, I know, but the truth is I’m not as late in my writing as much as belated in finishing the project itself (oops!).
Luckily, I have a very understanding valentine who put up with me banishing him from the living room while I worked in secret and was still appreciative when I gave it to him a week late. Yikes, that’s pretty bad, I probably shouldn’t admit that…and I just did…
I got the pattern from the always awesome knitty.com. For some reason I always get the urge to knit when it’s getting warmer, and knitting in the summer just doesn’t have the same appeal. In other words, I better get knitting while there’s still some rainy days about. Luckily I have a few other things started. Perhaps I’ll finish something green for St. Patty’s early instead of late!
Work in progress
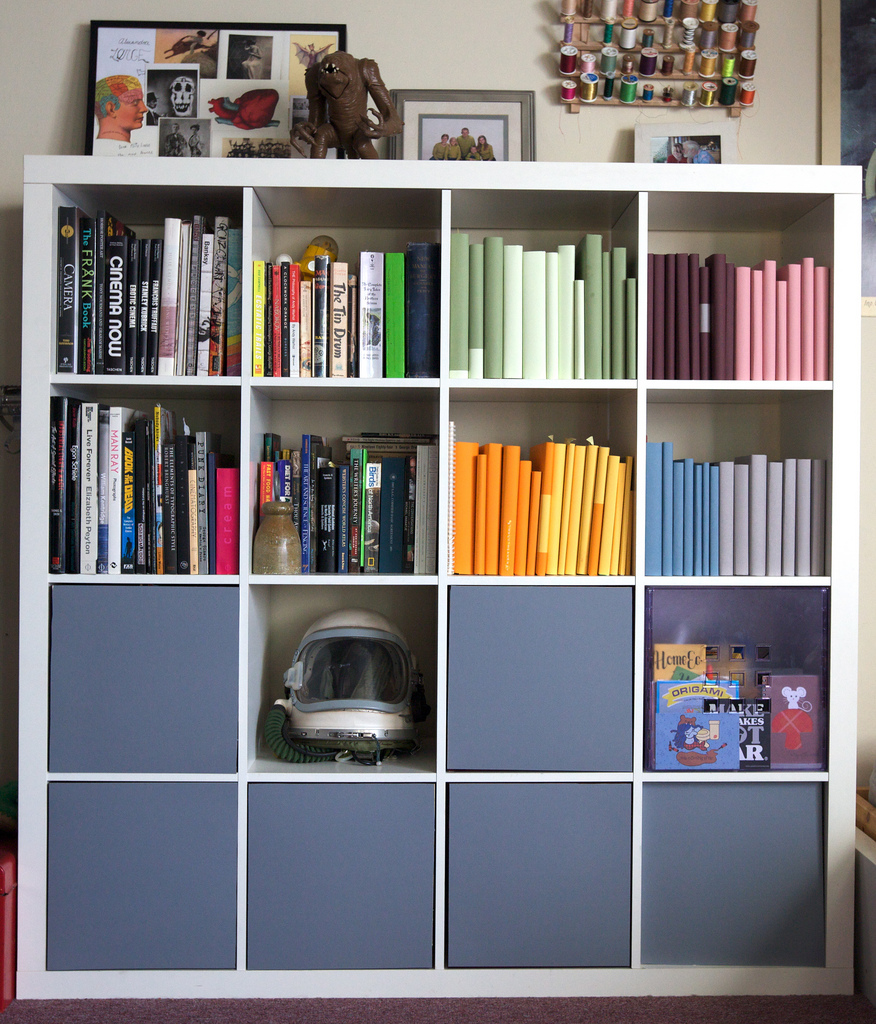 In between copious amounts of baking and projects, we’ve been trying to renovate and reorganize our apartment. One of the ideas that I’m in the middle of is updating the large book case in our living room. It has always been filled with stuff, masks, bike gear and various odds and ends. I wanted to make it a little more presentable and hide some of the storage aspects. I embarked on a crazy mission to not only fill it with our books that were placed randomly around the house, but also to cover them all in colored paper.
First of all, I had no idea how many books we had hidden away in various drawers and closets that now had a place to be. Second, covering books takes quite a bit longer than I thought. Third, nice colored paper is expensive and doesn’t cover nearly as many books as I would like. It seemed like a good idea in the first place, but now it seems like a daunting task to finish.
As you can see, I’m about half way done. I’ve covered the storage boxes with mat board as well. Soon hopefully we’ll get some handles for them so they actually open without the use of a fork or some other implement.
In any case, I think it is much improved from before. Please excuse all the strange things hanging out in our place. You accumulate a great deal of oddities when you make movies. Hopefully I’ll have a finished update soon enough, along with some other cool renovations in the apartment.
