Spring cookbook from the Blissful Chef
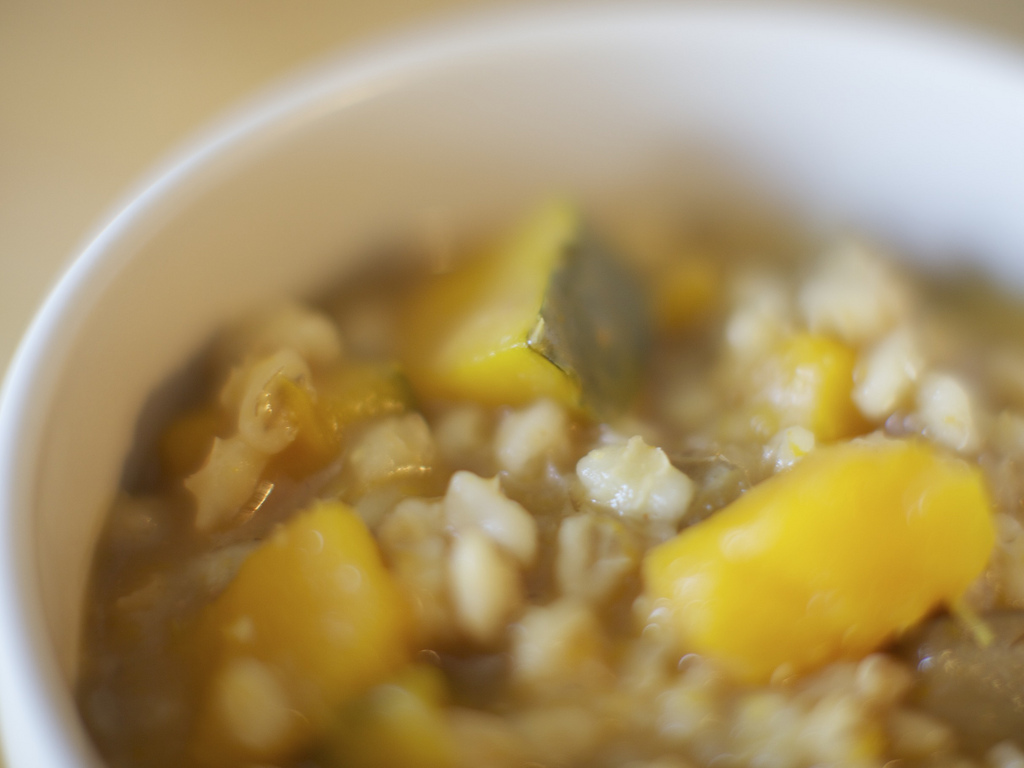
Recently, Christy, the Blissful Chef, was kind enough to give me a copy of her new e-cookbook Cooking with Seasons: Spring Edition. After glancing through the recipes, I was highly excited about the delicious looking, but thoroughly healthy recipes. I couldn’t decide on just one to try so I made two: the Barley Stew with Japanese Vegetables and the Hiziki Lentil Pate.
but first, a little story…
When I was six years old (yes we’re talking pre-school age here), I had my cholesterol tested and came in over 300, which is really just insane. My dad did some research and decided to put us both on a macrobiotic diet to remedy the situation (which he blamed on my love of McDonald’s chicken nuggets, gross!). In retrospect, I think it’s pretty cool considering that now people turn immediately to medications instead of diet change to fix their health problems. At the time though, I was not thrilled with the brown rice and steamed vegetables I would get for lunch every other day. I still don’t particularly like brown rice to be honest. In any case, making these recipes, the barley stew in particular, totally brought me back to the flavors of my childhood, in a much more appreciative and mature way. I can see now the subtleties of combining flavors and textures to come up with something that is not only truly delicious, but also full of nutrition. Oh yeah, and I should add, eating macrobiotic as a kid completely normalized my cholesterol in no time at all.
but back to the recipes…
This lentil hiziki pate is really great in that it has a complex combination of flavors while still being very subtle. The texture is lovely; grainy but soft. We ate a good deal of it up on some flax crackers. I loved the undertones of the hiziki that came through without being too strong at all. The recipe makes a whole ton which would be perfect for serving at a party or just as a guilt-free snack.
The ingredients are simple and the whole thing was extremely easy to prepare. It came together quickly and we ate it still warm. It was equally as good the next day, chilled.
I chose to use red lentils because that is what I had at home, although I’m sure it would be equally as good with regular lentils. My only mistake was not looking at the price of the hiziki when I purchased it. I highly recommend you look for a reasonably priced hiziki (aka, not at whole foods).
This stew may have worked it’s way into my heart as a new favorite. While I’m a fan of hearty filling stews, this one manages to be both of those while not giving you that weighed down feeling. Again, the flavors are understated but it allows you to taste each element of the stew on it’s own.
The kabocha squash is slightly sweet with a perfectly soft texture. Since I had a bit left over that didn’t go in to the stew, I’m looking forward to trying other ways of cooking this dense squash.
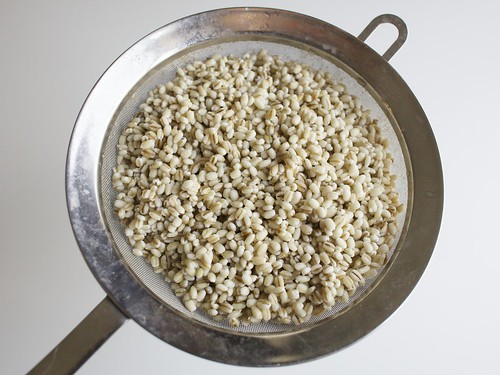
The barley brought everything together in the stew, giving it a wonderfully mushy texture. I really mean mushy in the best of ways. It was lighter and tastier than many other grains I’ve had in stews. Oh I loved it.
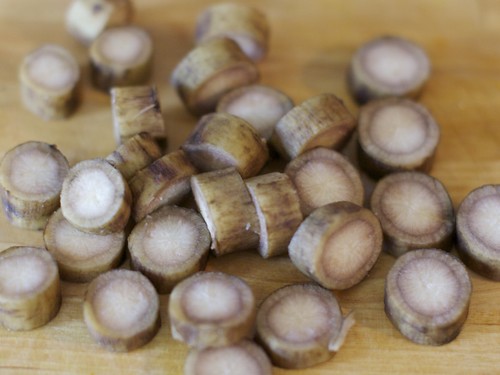
The burdock was another new taste for me. I wasn’t as in love with this but it added a contrasting texture and flavor as well as some added nutrients.
I was surprised at how much I enjoyed the daikon as well.
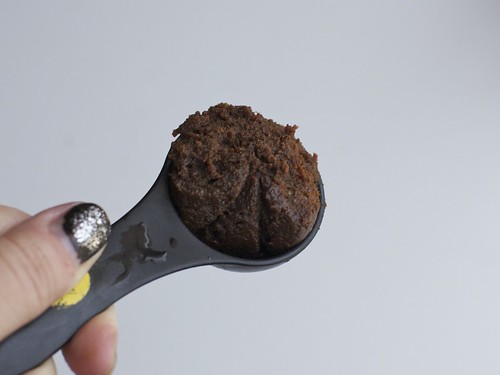
Oh and the barley miso, so wonderful. Such a strong flavor and yet part of me wants to eat it with a spoon.
All together these elements make a fantastic stew. Not only does it taste great but it actually makes you feel good. It is amazing how eating whole, unprocessed foods can make you feel. Perhaps it is time to do a little spring cleaning and try out some of these recipes. I can’t wait to make more of them. I’m particularly excited about the Basil UnCeasar Salad with Pumpernickel Croutons. Sounds awesome, right?
You can get these recipes and more in the e-cookbook from the Blissful Chef for a discounted price here!
good morning crumpets
Somehow I became obsessed with the idea of making crumpets. It may have had something to do with going to see Alice in Wonderland. I had to have them though, despite possibly never having them before in my life. Oh what I’ve been missing. They’ make an amazing breakfast or afternoon tea snack. Crispy on the outside and soft and moist in the middle, they’re like english muffins and pancakes had a baby. And perfect with a bit of earth balance and jam. Now you can make them for yourself.
Vegan Crumpets 1 3/4 cups all purpose flour 1 rounded tsp yeast 1/2 tsp baking powder 1/2 tsp salt 3/4 cup soy milk, room temperature 1/2 cup water, room temperature 1 Tbsp Earth Balance, meltedMix all ingredients together in a bowl until there are no lumps. If you’re using a stand mixer it will take a minute or two with the paddle attachment. Cover and set aside in a warm place so that it can rise. It should take about an hour, and you’ll be able to see a bunch of bubbles popping to the surface.
When your batter is looking good, you’ll want to head up a griddle or pan. It’s best to use a medium low heat so that they can cook all the way through without burning.
Grease two crumpet rings and place them on your pan, making sure they’re flat. Scoop or pour about a quarter cup of the batter into the rings on the pan.
After about five minutes you’ll see the edges begin to firm up. You can then gently remove the rings using tongs or an oven mitt.

They should hold their shape. Let them cook for a minute more without the rings.
Flip them over and let the other side cook through, another 5 minutes or so. That’s it! Eat them up! Quick while they’re still warm!
DIY Raw Sauerkraut
 I’m going to tell you how to make your own raw sauerkraut. First I’m have to warn you that I know nothing about fermenting things, or raw food and to be honest I don’t generally eat sauerkraut. I do happen to live with someone who really likes it though. In any case, if my instructions are awful, you might be better off looking elsewhere because I’m pretty sure there are more detailed recipes somewhere else. On the other hand, this batch turned out just fine and was ridiculously easy. So let’s get to it.
First you want to take some cabbage. I used two heads. It may seem like a lot but it will turn out to be less in the end. You might as well make a bunch of sauerkraut.
Shred your cabbage. It’s easiest to do this in a food processor. You could technically do this with regular grater by hand, but that would not be fun.
Start puting your shredded cabbage in a large jar. Mine was about a gallon. I highly recommend using something with a wide mouth (unlike mine) as it makes it way easier to not spill shredded veggies all over your kitchen. As you put in the cabbage, you want to add 3 tablespoons of salt. Mix it in a bit but more importantly, pack down the cabbage tightly into the bottom of the jar.
Now if you want to get a little crazy, you can put in some other veggies, like beets and carrots, which will give your kraut some extra flavor and color. Just make sure you press everything down as tightly as possible.
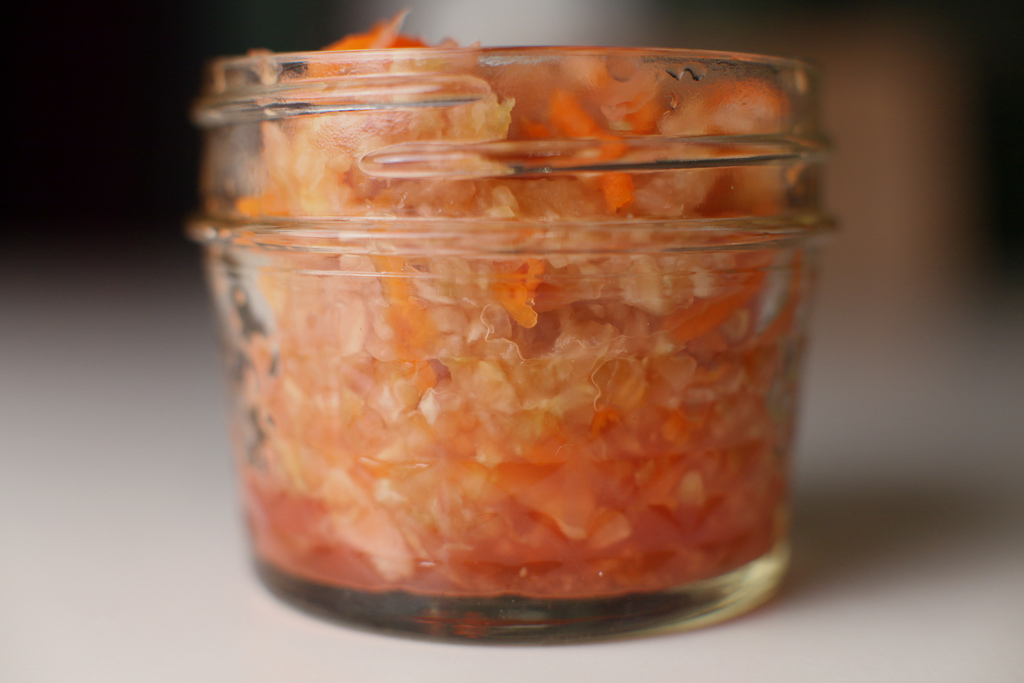
Ok so there you go. It’s all in the jar, you probably want to pack it a bit better than in the photo above. Then just set it aside in your kitchen somewhere and let it do it’s thing for oh a couple of weeks. Make sure it’s not too hot or cold, just comfortable. If the veggies inside are above the level of brine water they might brown or get some “bloom” but not to worry just take the yucky part out and the rest should be fine. If it’s extra moldy you might just want to scratch the whole thing, I really have no idea. The longer you let it all sit, the stronger the flavor.
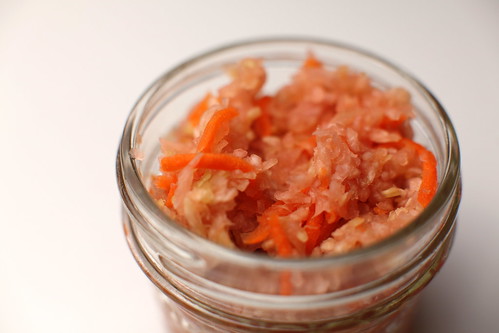
There you have it ladies and gents, raw sauerkraut. Very little work, lots of patience and a delicious reward.
