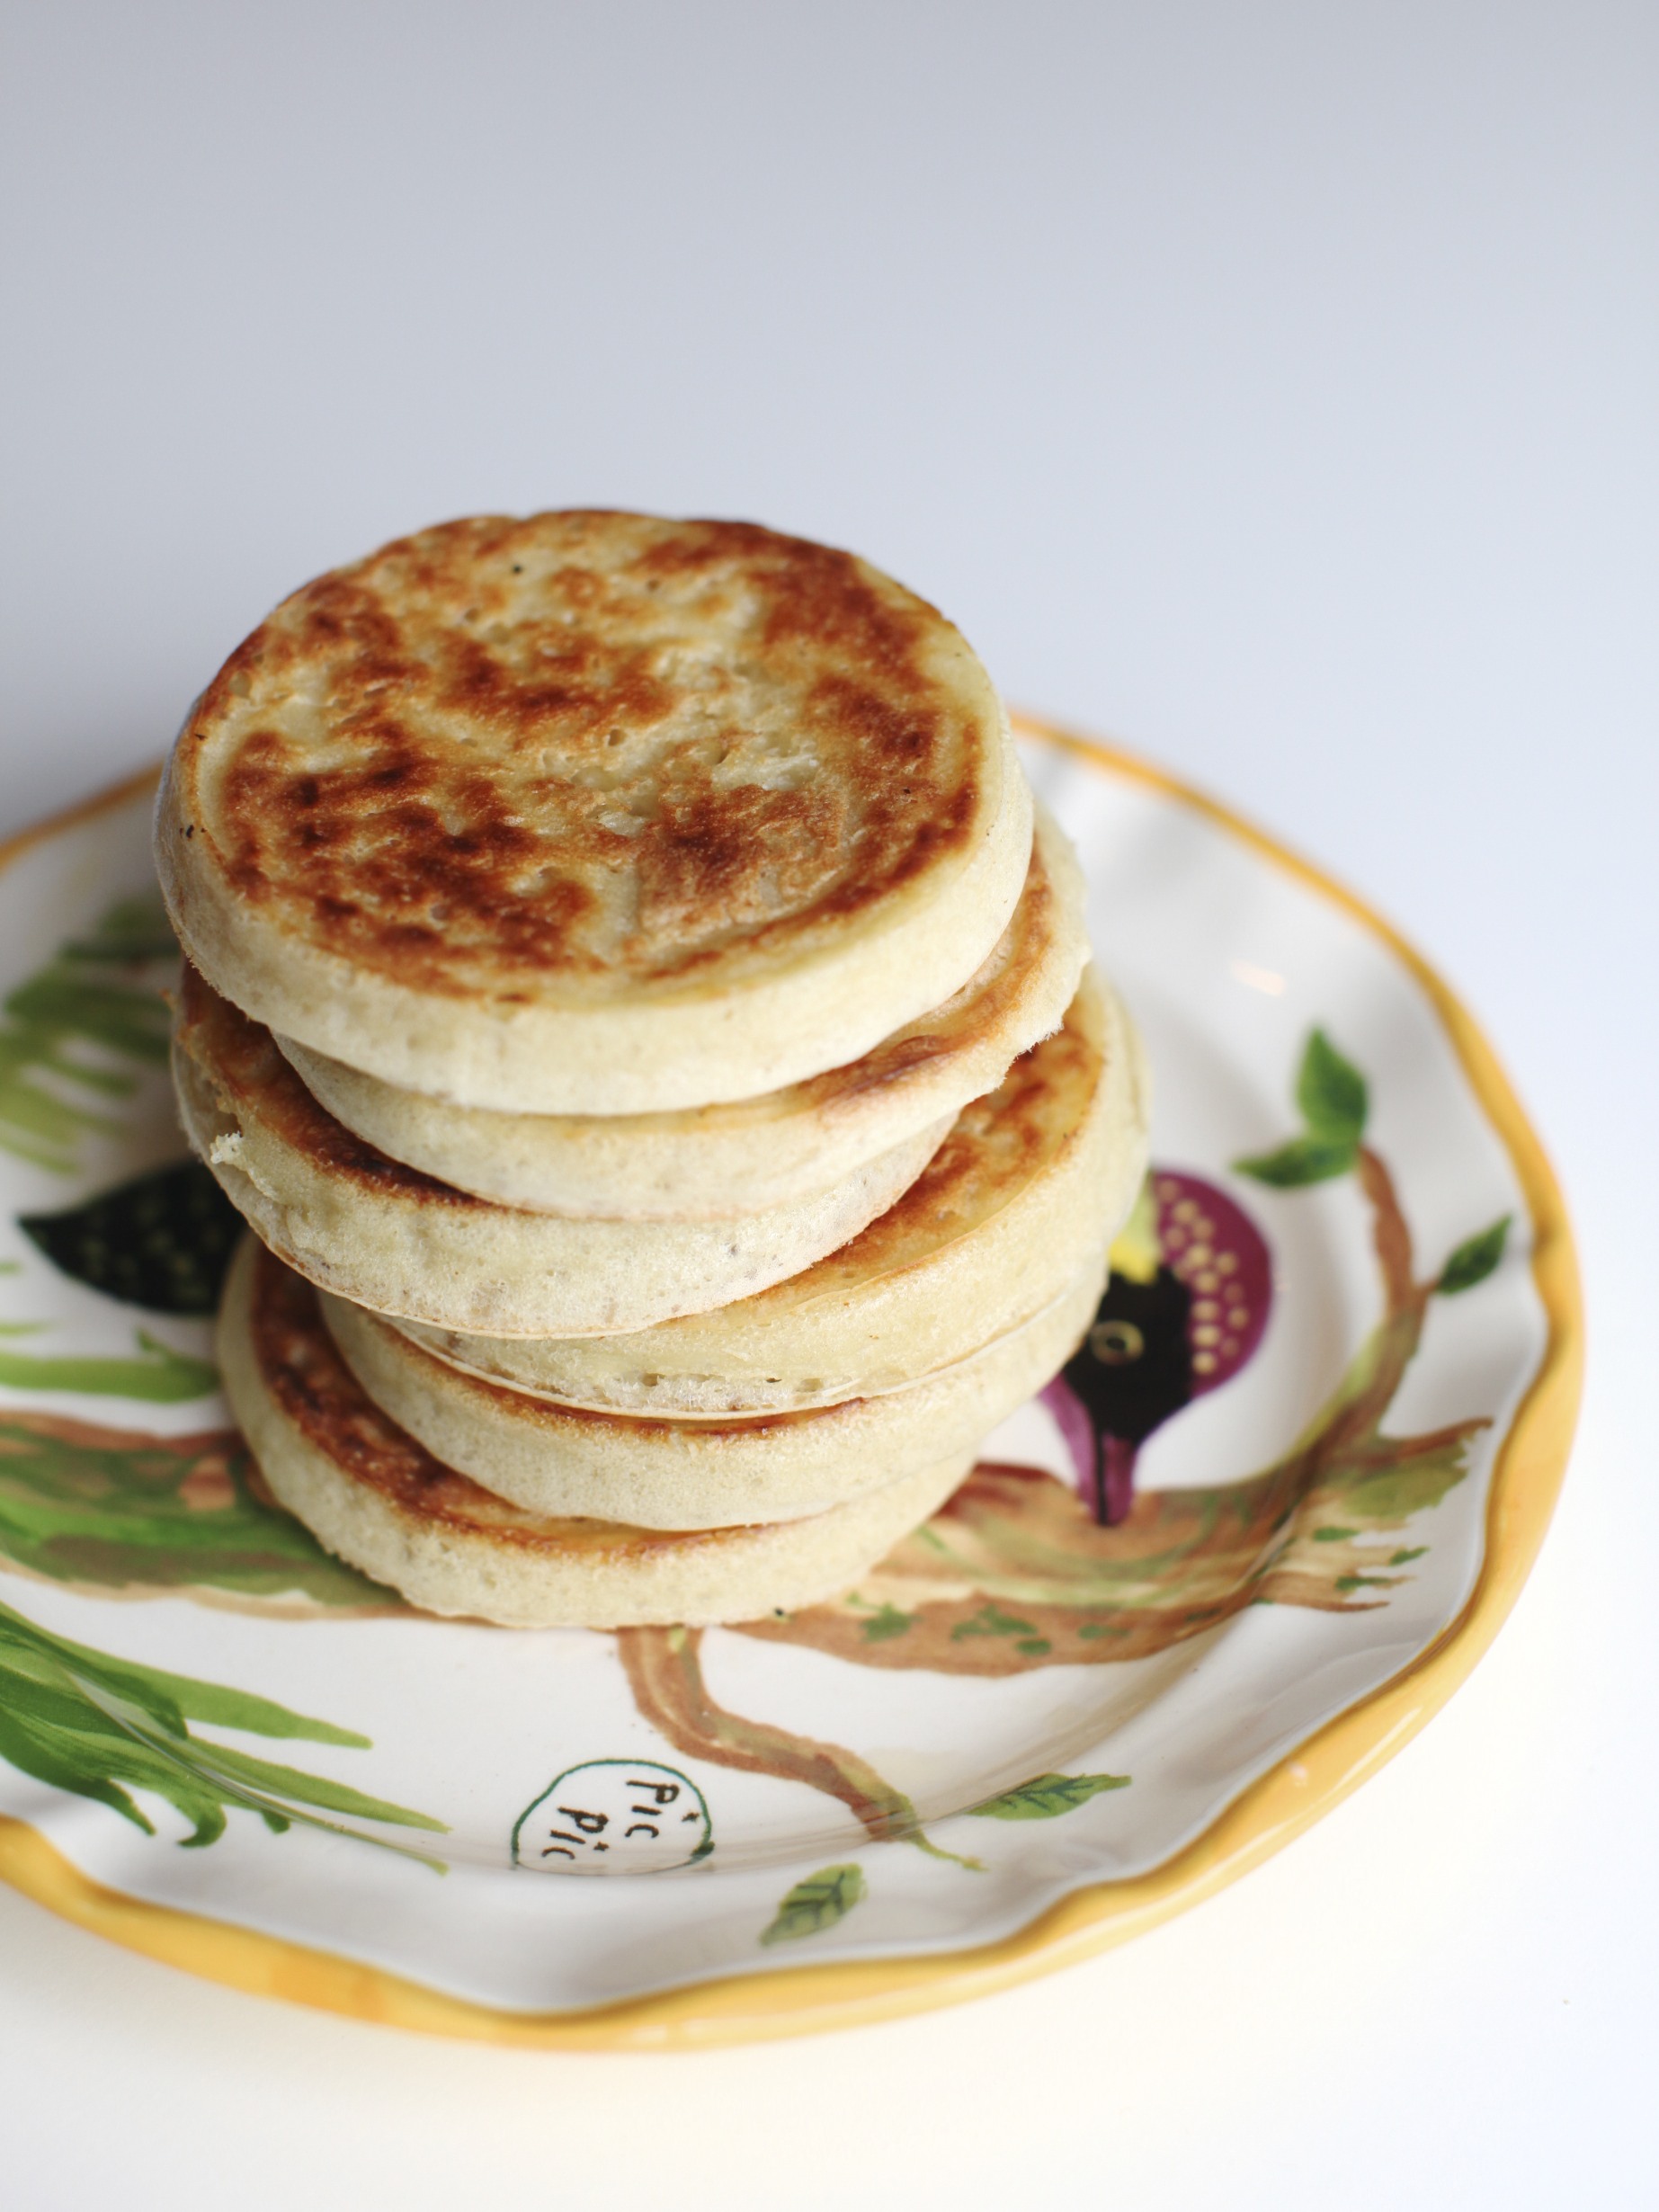
good morning crumpets
Somehow I became obsessed with the idea of making crumpets. It may have had something to do with going to see Alice in Wonderland. I had to have them though, despite possibly never having them before in my life. Oh what I’ve been missing. They’ make an amazing breakfast or afternoon tea snack. Crispy on the outside and soft and moist in the middle, they’re like english muffins and pancakes had a baby. And perfect with a bit of earth balance and jam. Now you can make them for yourself.
Vegan Crumpets 1 3/4 cups all purpose flour 1 rounded tsp yeast 1/2 tsp baking powder 1/2 tsp salt 3/4 cup soy milk, room temperature 1/2 cup water, room temperature 1 Tbsp Earth Balance, meltedMix all ingredients together in a bowl until there are no lumps. If you’re using a stand mixer it will take a minute or two with the paddle attachment. Cover and set aside in a warm place so that it can rise. It should take about an hour, and you’ll be able to see a bunch of bubbles popping to the surface.
When your batter is looking good, you’ll want to head up a griddle or pan. It’s best to use a medium low heat so that they can cook all the way through without burning.
Grease two crumpet rings and place them on your pan, making sure they’re flat. Scoop or pour about a quarter cup of the batter into the rings on the pan.
After about five minutes you’ll see the edges begin to firm up. You can then gently remove the rings using tongs or an oven mitt.
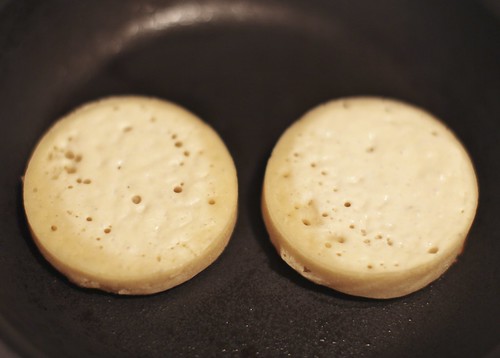
They should hold their shape. Let them cook for a minute more without the rings.
Flip them over and let the other side cook through, another 5 minutes or so. That’s it! Eat them up! Quick while they’re still warm!
DIY Raw Sauerkraut
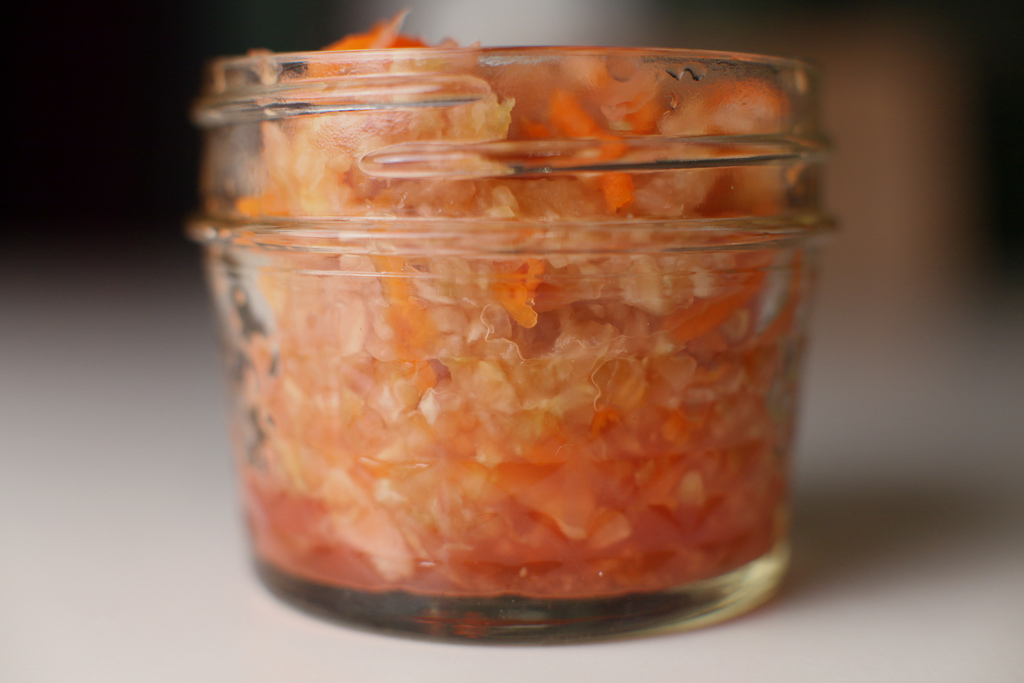 I’m going to tell you how to make your own raw sauerkraut. First I’m have to warn you that I know nothing about fermenting things, or raw food and to be honest I don’t generally eat sauerkraut. I do happen to live with someone who really likes it though. In any case, if my instructions are awful, you might be better off looking elsewhere because I’m pretty sure there are more detailed recipes somewhere else. On the other hand, this batch turned out just fine and was ridiculously easy. So let’s get to it.
First you want to take some cabbage. I used two heads. It may seem like a lot but it will turn out to be less in the end. You might as well make a bunch of sauerkraut.
Shred your cabbage. It’s easiest to do this in a food processor. You could technically do this with regular grater by hand, but that would not be fun.
Start puting your shredded cabbage in a large jar. Mine was about a gallon. I highly recommend using something with a wide mouth (unlike mine) as it makes it way easier to not spill shredded veggies all over your kitchen. As you put in the cabbage, you want to add 3 tablespoons of salt. Mix it in a bit but more importantly, pack down the cabbage tightly into the bottom of the jar.
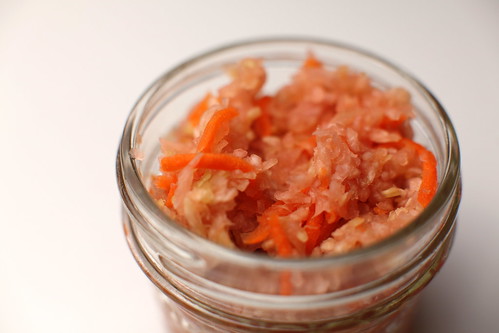
Now if you want to get a little crazy, you can put in some other veggies, like beets and carrots, which will give your kraut some extra flavor and color. Just make sure you press everything down as tightly as possible.
Ok so there you go. It’s all in the jar, you probably want to pack it a bit better than in the photo above. Then just set it aside in your kitchen somewhere and let it do it’s thing for oh a couple of weeks. Make sure it’s not too hot or cold, just comfortable. If the veggies inside are above the level of brine water they might brown or get some “bloom” but not to worry just take the yucky part out and the rest should be fine. If it’s extra moldy you might just want to scratch the whole thing, I really have no idea. The longer you let it all sit, the stronger the flavor.
There you have it ladies and gents, raw sauerkraut. Very little work, lots of patience and a delicious reward.
Easter bunny cake
 Hope everyone had a delicious Easter!
St. Patty’s treats
Saint Patrick’s day is upon us again and I wanted to get in a quick post to honor it, and also to reflect on the feasting Shawn and I did last year. This year we won’t be feasting for every meal, but we’ll try to squeeze in a few Irish themed dishes. We started early by having some beans and toast tonight, with some apple sage field roast sausage. I’ll try out some new recipes for tomorrow, but why mess with something that is amazingly delicious as it is?
Now, back in February, I mentioned I had a few knitting projects going and that I might just share one for Saint Patrick’s if I finished in time. Guess what…I did! Even with making a million mistakes and having to undo hours of work, I managed to complete the above pictured fingerless gloves. They’re made with organic cotton yarn (in green of course!) that I love. It’s so easy to work with and softer than any not-so animal friendly wool. If you were so inclined, you could knit these yourself as there is a free pattern available, which I’m always appreciative of. These guys are so comfy and also great for keeping warm on a bike ride without losing your grip.
Part of the reason there won’t be extensive feasting this year, is because I’ve been rather busy baking away. I did manage to get some special St. Patrick’s day cupcakes over to Meet Market, so if you need some Saint Patrick’s day treats you can get your own lucky shamrock vanilla cupcake, or some Peppermint Patty cupcakes or even a special green themed “hostess” cupcake with marshmallow cream filling. Get them before they’re gone though, they’ve been selling out awfully quick.
Hope everyone has a lovely Saint Patrick’s day. Eat something delicious. Don’t forget to wear green (or orange). Try not to drink too much. 🙂
The Best Vegan Fudge Ever
What is the one food you remember from your childhood as being better than anything else? Was it the sugar cookies your grandmother made? The grilled cheese sandwich your dad grilled especially for you? Maybe that’s not it, but there was something, wasn’t there? And you’ve never been able to find something as good anywhere else.
For me, the one thing I remember as being incomparably amazing was the fudge my mom made. Even though she would usually sabotage it with walnuts, I would sometimes get a small batch just for myself. It’s been years and years since I’ve had anything even comparable to that fudge. I mean, even before I was vegan, there wasn’t anything nearly as good.
Finally, my mom agreed to show me her recipe step by step so I could veganize it. She even said it was ok for me to share it with you, which I think is pretty generous, considering it is the best fudge ever. Thanks mom!
Ok, here’s what you need…
1 1/3 cup of non-dairy cream, unsweetened
2 2/3 cup sugar, yeah, that much sugar
4 ish oz bittersweet chocolate
2 Tbsp corn syrup
4 Tbsp Earth Balance
Put everything in a medium sauce pan and stir together. Turn the heat on to medium high and stir occasionally so that the chocolate melts evenly. Bring to a boil and using a candy thermometer, or your cunning senses, heat slowly to the firm ball stage, about 240° – 250° F. If you want your fudge a little creamier you don’t have to go quite this hot.
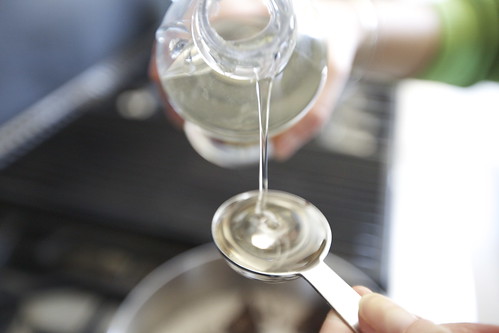
To check the firmness, you can spoon a small bit into some cold water. Take out the cooled piece and roll between your fingers. The harder it is, the firmer your fudge will be. Once it reaches the desired temperature, remove from heat and allow to cool for a few minutes. In the mean time, grease a pan to put your fudge in. Mix in 1 tsp of vanilla.
If you’ve made it through all that, get ready for the hard part. Using a spoon, beat the fudge so that air is incorporated into the mixture. Don’t stir, beat. If your arm doesn’t get tired, you’re not doing it right. In fact, you might want to have a backup beater on hand to help you. My arm is still sore from this part actually. Do this for a couple minutes, until the mixture is a bit fluffier.
Pour the fudge into your prepared pan and smooth over a bit. Slice into chunks once it has cooled somewhat, but is still slightly warm. You probably want to use a butter knife as well and not a ridiculous sharp one like the one above. Also, go ahead and make those chunks pretty small, you’re better off this way.
You can totally snack on some bits here when it’s still warm, but know once you start it will be hard to stop. I personally like it best once it has cooled completely and hardened.
So the verdict? It’s almost exactly the same as I remember it. That sugary sweetness that melts in your mouth with a rich chocolate flavor. The flavor of the mimicream definitely has a subtle effect, but in the end one I like, giving it just a hint of nuttiness. I may try a few variations, and practice my beating technique, but I wouldn’t hesitate to say that it was a complete success. I should also probably mention this is the recipe for a double batch so go ahead and half it if you like. Although you might not want to. On the other hand, you might eat it all in one day so beware. Not that anyone I know would do that. Never.
