Handmade wedding invitations
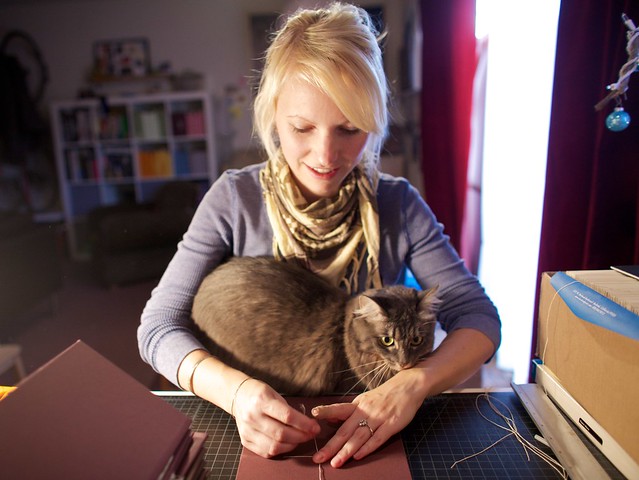
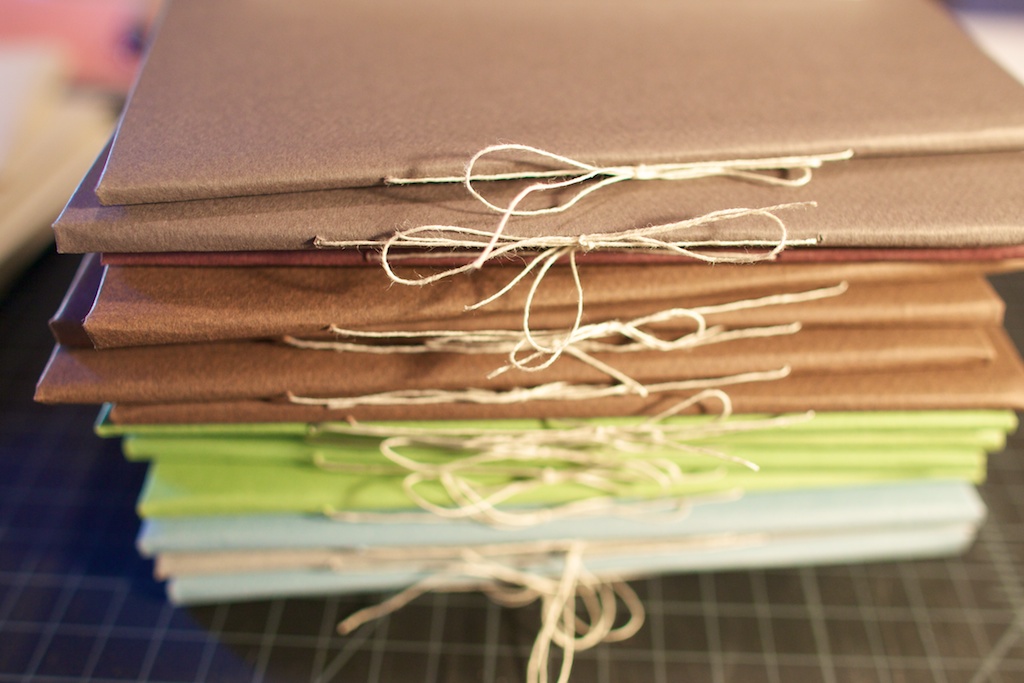 One of the biggest projects I undertook for our wedding was making the invitations. I had a crazy idea that this would somehow be simple, despite a multi-step binding process, even though I’d never actually bound a book before. I just knew I could do it. I had no idea what I was getting myself into.
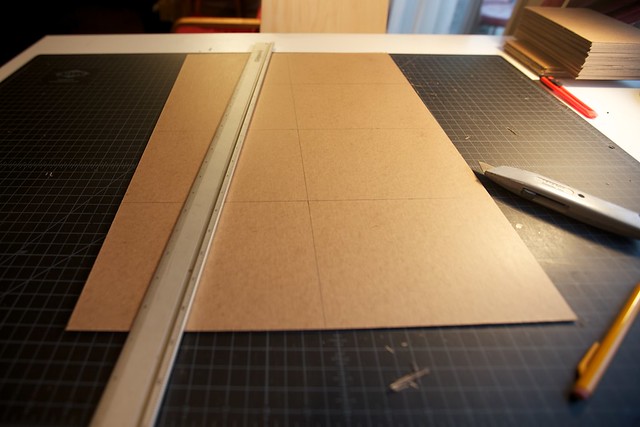 Every book started as a sheet of board precisely measured and cut.
 Then each piece was placed and glued to an assortment of colored papers.
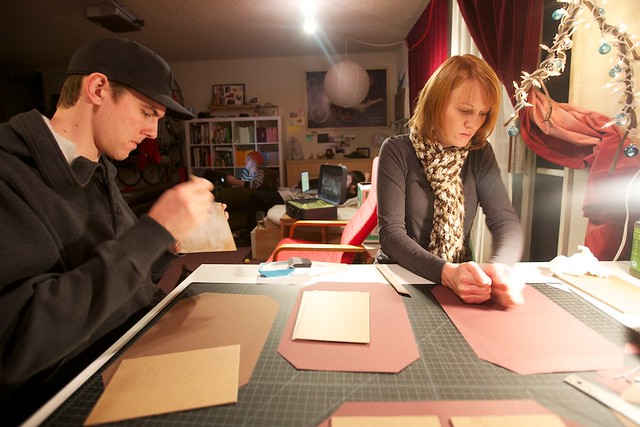 At this point I got some help from my friend’s Jannatha and Kyle.
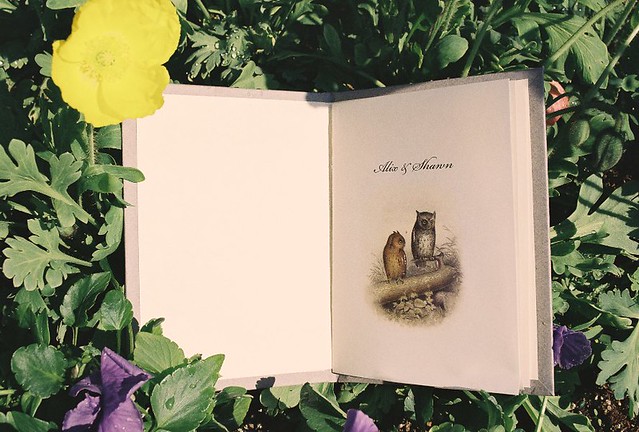
 For the inside pages, Shawn and I bought a few vintage book plates with images of animals, which we scanned and laid out in our book. We chose a lot of owls and birds. I wrote small stories about us and wove it into the information about the actual wedding.
 We had them printed at a local print shop and then I sewed the insides into the books.
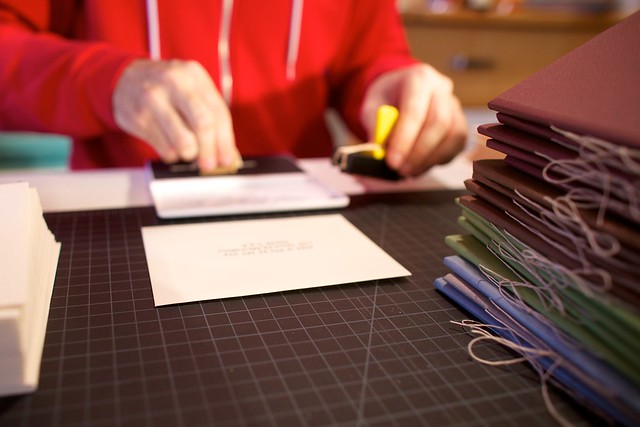 Shawn helped me stamp return envelopes for our reply cards. We were able to use the same envelopes from our save the dates.
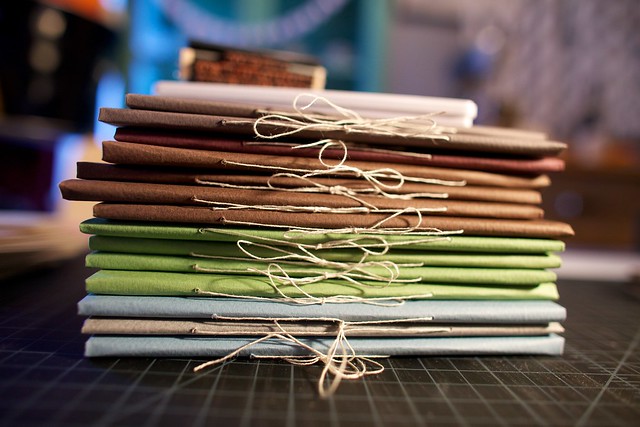 I made about 90 of these books. All told it was probably 60 hours of work, but then again I wasn’t exactly keeping track.
Are you ready to see inside?
 While it was quite a long and arduous process, the responses that we received from guests made it all worth it. That being said, I would never do anything like it on that scale again. I wouldn’t have been able to complete them all in time without help from my friends, Shawn and my mom who helped me stamp and seal all the envelopes.
p.s. Of course I left out a few pages, so you all don’t show up at the wedding, since it hasn’t happened yet, but I’ll be sure to show them off in the end.
Camera strap cover

Amidst all my crazy projects at the moment, I managed to pull off one quick little DIY for myself. I put a cute cover on my new camera strap. For awhile now I’ve been carting around this camera without a strap at all, but thought it would actually be useful to have one. Luckily I got my hands on a spare, but it had a lot of text on it from the fancy camera it once belonged to. I pulled out some scrap fabric I had and sewed up a cover right quick.
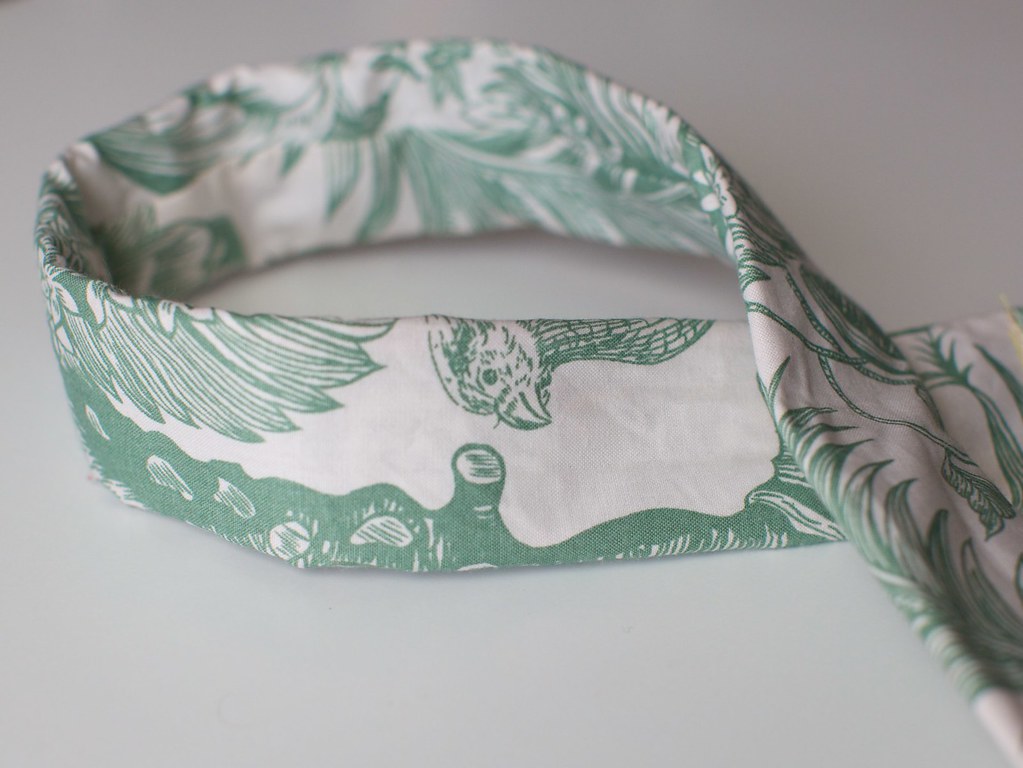 I didn’t follow any instructions (but here’s a good tutorial) I just measured the strap and added a little extra for seam allowance. It was quick and easy, taking less than 20 minutes. The most difficult part was slipping the cover over the original strap, since it has that fancy grip fabric on the bottom.
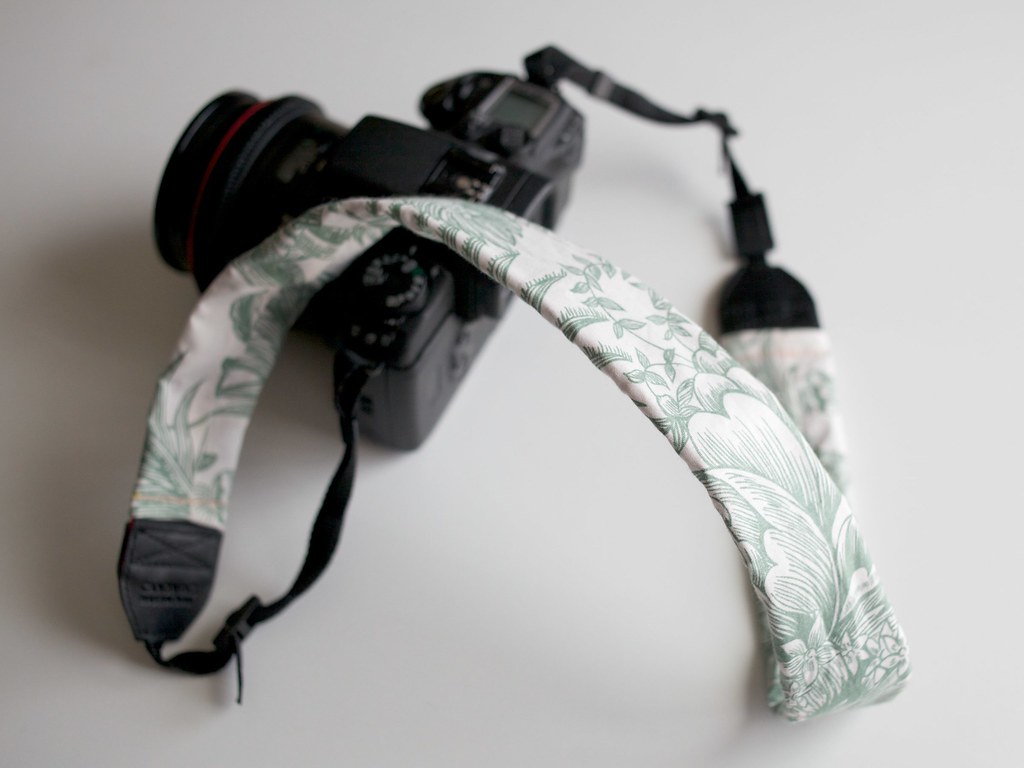 I should probably iron it so it looks a little more pro, but I’m quite happy with it. I like the contrast of the light fabric and the black camera and all the hidden details in the print.
