Graham crackers revisited
Not the type to let a kitchen mishap get me down, I had to try my hand again at graham crackers. I scoured the web for tips and info but settled with two of the highest ranking of recipes, one vegan and one not. There were elements of each that I liked but neither seemed to be exactly what I was looking for. What I came up with was a strange amalgamation of the two, with a hint of my own laziness thrown in there.
Surprisingly, they came out really well. They’re a little more cookie-like than store bought grahams but in the best of ways. The molasses in the sugar gives them a rich flavor that pairs perfectly with the cinnamon. They have a great crispy crunch but aren’t hard. Though the whole thing was a bit intimidating, it was well worth it.
Vegan Graham Crackers
2 1/2 cup graham flour
2 Tbsp all purpose flour
1/2 tsp baking powder
1/2 tsp baking soda
3/4 tsp sea salt
1 cup dark brown sugar
1/2 tsp cinnamon
3 1/2 Tbsp Earth Balance chopped into small cubes and frozen
1/4 cup soy milk
1/4 cup agave or simple syrup
2 Tbsp vanilla extract
1. Chop your Earth Balance and put it in the freezer. It is easiest to use the Earth Balance sticks.

2. I did not have dark brown sugar so I just took 1 cup of regular sugar and added 2 Tbsp of molasses and combined thoroughly with a fork.

3. Mix the sugar, flours, salt, baking soda, baking powder and cinnamon in a mixer on low. You could also do this by hand. Mix until just combined.
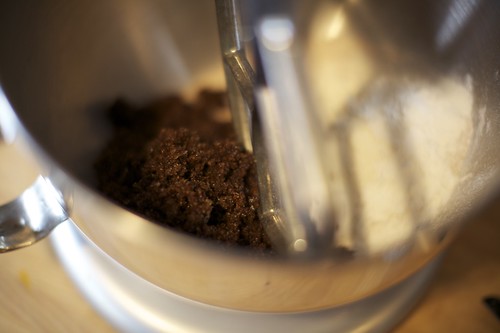
4. Next add the frozen Earth Balance. Mix the ingredients until it starts to resemble a coarse meal. It is ok if the Earth Balance is not 100% incorporated. It is more important to not over-mix.
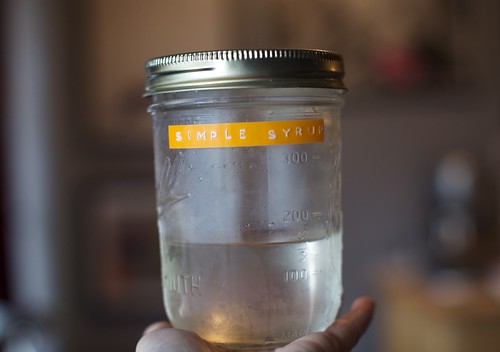
5. Mix the soy milk, agave and vanilla in a separate bowl. I used a mixture of agave maple syrup and simple syrup (sugar water) because that’s what I had in the fridge. Mix into the flour mixture until you have a rough dough.
6. Shape the dough roughly into a rectangle and wrap in plastic wrap. Refrigerate for at least 2 hours.
7. Preheat the oven to 325°
8. Remove the chilled dough and cut in half. Put the remaining portion back into the fridge. The dough will be very sticky so flour generously. I recommend rolling it out between two pieces of parchment paper. You will still have to flour it though. Roll out to approximately 1/4″ thickness. Using a pizza cutter or similar tool, cut into even(ish) squares. Poke holes in the tops with a fork or skewer and sprinkle with sugar and cinnamon. Repeat with the second batch of dough.
9. Here is where you should chill your dough for an additional 20-30 minutes. I didn’t. I got impatient. I’m sure it would be better if you did, but it didn’t make a huge difference. My graham crackers spread out a bit more and had to be recut after baking.
10. Bake for 20-25 minutes, rotating the tray about 15 minutes in.
11. Remove and let cool. Eat till your hearts content.
Mushroom & garlic tofu ravioli
It’s official. Making ravioli makes me feel like a real cook. A chef even! I’ve made pies and crepes and hundreds of cupcakes, but this did it. Ok, so I did make one mistake in the process which made the end result not as pretty as I would have liked, but they still tasted amazing.
I started out using this homemade pasta recipe. I got a little excited at the market and got a few different flours so I’m going to try a semolina flour version as well. For the filling, I sauteed some chopped baby bella mushrooms in olive oil and some white wine, with just some salt and pepper and a touch of basil.
I wanted to add some tofu ricotta, but I realized I didn’t have all the necessary ingredients. Then I got a little carried away with the minced garlic (as usual). So it’s more like garlic tofu ricotta. That is not at all a bad thing.
Garlic Tofu Ricotta
7 oz firm tofu (about half a container) drained and crumbled
3 cloves minced garlic
1 Tbsp nutritional yeast
1 tsp tahini
1/2 tsp salt
1 tsp lemon juice
1/2 tsp basil
1/4 tsp onion powder
Put all ingredients in a bowl and combine using a fork.
After rolling out two sheets of the pasta dough, spoon on a little of both the mushrooms and tofu, trying to stay in a grid pattern as much as possible. Cover with the second sheet and seal in the filling with your fingers, starting in the middle as to not make air pockets. Cut each square with a pie cutter or sharp knife.
Cook in a medium pot of boiling water for approximately three minutes, being careful not to split any holes in them. Definitely don’t put them in a bowl before you put them in a pot and let them get all stuck together. Who would do something like that? Definitely not me! I’m a pro! Oh wait….
White Russian Cupcakes
Do I really need to describe these? White Russian in a cupcake. I’m just gonna go ahead and give you the recipe. Beware this frosting is deadly.
White Russian Cupcakes
Kahlua batter
½ cup soy milk
½ tsp white vinegar
1 ¼ cup flour
1 Tbsp corn starch
¼ tsp baking soda
¼ tsp baking powder
¼ tsp salt
¼ cup plus 1 Tbsp sugar
3 Tbsp oil
½ tsp vanilla
1 tsp coffee extract
2 Tbsp Kahlua
1 tsp vodka
Cream batter
½ cup soy milk
½ tsp white vinegar
1 cup + 2 Tbsp flour
¼ tsp baking soda
¼ tsp baking powder
¼ tsp salt
¼ cup plus 2 Tbsp sugar
4 Tbsp oil
1 tsp vanilla
1 tsp vodka
White Russian Frosting
1/4 cup Earth Balance
2 Tbsp Kahlua
2 tsp vodka
1 – 1/2 cup powdered sugar
Preheat the oven to 350°. Fill cupcake tray with liners.
The trick with this recipe is to make both batters at the same time. That means mix all your wet ingredients and all your dry ingredients for both batches simultaneously and then combine them both together. That means you should be working with four bowls.
Mix soy milk and vinegar and set aside. Combine all the dry ingredients for both batters in two separate bowls. In two more bowls, combine all wet ingredients adding the soy milk mixture last. Mix the wet and dry for the Kahlua batter until there aren’t an noticeable lumps. Divide between the 12 cups. Then mix wet and dry for the creme mixture and fill the cups the remaining 3/4 full.
Bake for 20 minutes or until a toothpick inserted comes out clean. Let cool on a rack completely.
For the frosting, beat the Earth Balance until smooth. Add the Kahlua and vodka and beat until fully combined. Add 1 cup of powdered sugar and beat until smooth again. Add more powdered sugar as necessary. A note on this, I used the soy free Earth Balance which is not as dense as the regular stuff so I used 1 1/2 cup powdered sugar, I imagine only 1 cup will be needed though normally. Also, double the recipe if you want to pipe the frosting.
Eat these suckers (but don’t eat too many)!
Vegan Crème Brulée Experiment
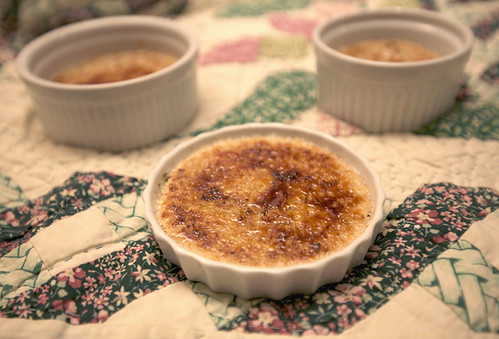
I decided to embark on the wonderful challenge of making vegan crème brulée. This has always been one of my favorite desserts, but I never considered trying to make a vegan version myself. I wanted to try to use a cashew base instead of relying on tofu, as I find that often desserts that have a subtle flavor and a good deal of tofu can some times be too plain. After mixing my first batch, I tested the uncooked custard before it went in the oven and it had a very strong cashew flavor. Since I had extra of all the ingredients, I thought it would be best to try another batch with a different recipe, to make a less intense version. Here are the results and recipes to go along with them.
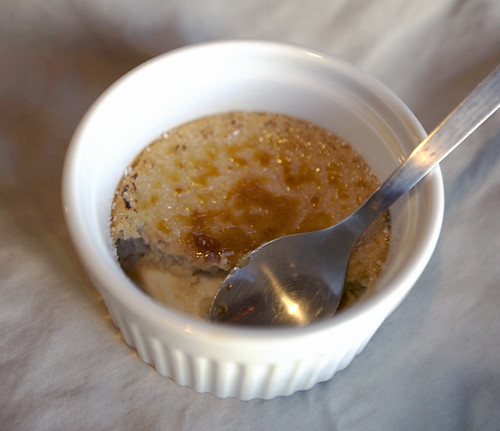
Vegan Crème Brulee v.1 ¼ cup silken tofu ½ cup sugar 1 cup raw cashews ¼ cup Mimicreme or soy creamer 2 Tbsp corn starch 1 Tbsp vanilla 1 tsp lemon
Vegan Crème Brulee v.2 1 cup silken tofu ½ cup sugar ½ cup raw cashews ¼ cup Mimicreme or soy creamer 1 Tbsp corn starch 2 Tbsp vanilla 2 tsp lemon
The process for each version is nearly the same, version 2 just has to cook a little longer.
1. Preheat oven to 325° Place your dishes on a cookie pan. Depending on your dishes, this will make 4-6 servings.
2. In a food processor, blend the tofu until it is smooth. While the processor is still running, add the sugar and let blend until smooth before adding the cashews and soy creamer together. Blend until there are no chunks, this should take a few minutes. Finally, add the cornstarch, vanilla and lemon, blending until everything is combined.
3. Pour the custard into your dishes and place in the oven. Cook for 15-20 mins for version 1 and 25-30 for version 2. The outsides will be slightly firm and centers still slightly soft.
4. Let cool to room temperature and then place in refrigerator. Refrigerate for approximately 2 hours or until cold.
5. Sprinkle with sugar, enough to make a thin layer over the top of the custard. Use a butane torch to caramelize the sugar. If you don’t have a torch, you can try putting them under the broiler for a few minutes.
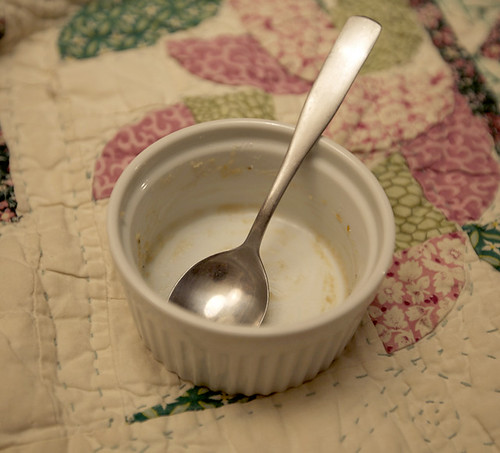
I was impressed at how good these were. Both have a strong cashew flavor, but it isn’t overwhelming. I believe this is mostly due to the flavor of the Mimicreme which is also made from cashews/almonds. I think next time I’d like to use a generic soy creamer to make it a bit lighter. Version 1 was much denser. The flavor was smoothed out when it baked and was very pleasing and rich. Version 2 was lighter and creamier but wasn’t quite as custard like. Back to back, they didn’t have major flavor differences, they did have the same ingredients after all, it was mostly just a difference of consistency and intensity.
I have only had one vegan crème brulée ever, which was amazing, so I know that a fantastic vegan version is possible. These were really good (I’ve eaten 3 already!) but I know they could be even better. This is one experiment I won’t mind repeating.
VeganMoFo III and deep fried brussel sprouts
 The time has finally come for the Vegan Month of Food 2009. To start things off I wanted to share a fairly easy recipe for something undeniably delicious: Deep fried brussel sprouts. Oh yes, deep fried. Brussel sprouts are one of the most tasty vegetables in existence and there are so many great and easy ways to prepare them. This is one way that is a little unusual but absolutely worth trying.

Now let me preface this by saying that I’m no expert when it comes to frying things, especially in hot oil. So if I can do it, so can you. Please, oh please, be careful though, because this isn’t just hot oil, it’s burn off your flesh in an instant hot. Ok, if I haven’t scared you off yet, here is how to prepare these guys.
1. Fill a medium sauce pan half full with a high heat oil. I used a combination of safflower oil and vegetable shortening. Put the oil on the stove on high heat. It is best to continue using a frying/candy thermometer.
2. Wash your brussels and pat dry, removing as much water as possible. Cut the bottoms off and then cut each sprout in half. Remove any wilted or brown leaves.
3. When your oil has reached approximately 350° very carefully put the sprouts into the oil. I recommend pushing them off your cutting board with a knife or other implement so that your hands are nowhere near the oil. It will bubble and splatter!
4. Let the brussel sprouts fry, checking the larger pieces at the bottom occasionally with a spoon, to see when they start to brown on the outside. Once they do, remove them with a slotted spoon and place on a towel or paper bag.
5. Once you have taken all the sprouts out of the oil, place in a medium bowl. Season with salt, fresh ground pepper and a sprinkle of cayenne.
6. Enjoy!
Frying these sprouts makes them tender, crunchy and slightly caramelized. The flavors are gently enhanced by the spices and the heat of the cayenne is cut back by the residual oil. This is a great way to convince those who have misconceptions about brussel sprouts that they have an amazing flavor and are not a bland boring vegetable.


