Thanksgiving leftover hot pockets
 It may seem like I’m a little obsessed with leftovers. It’s true. But Thanksgiving always leaves you with so many of them. Even though we didn’t cook this year, we still ended up with a few nights worth of holiday food. I wanted to spice things up a little bit, just so we weren’t having exactly the same meal over and over. Hence the creation of the Thanksgiving leftover hot pocket.
All you have to do to make these is make some pastry crust (I used the flakey pie crust recipe from The Joy of Vegan Baking
) and assemble as if you were making ravioli. You could easily use puff pastry if you didn’t feel like making a crust.
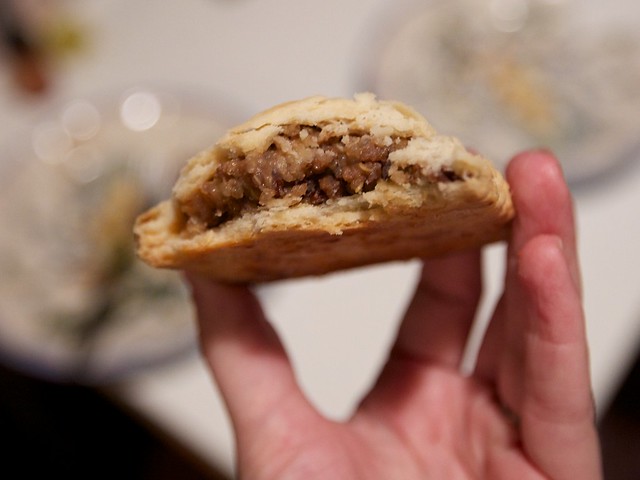
Start by preheating your oven to 425° F. Roll out your crust (or one sheet of puff pastry) and set aside one half. Put a few tablespoons of stuffing or tofurky or whatever leftover you want in a grid on the dough, leaving about an inch between each filling. The next part is really important, you must drizzle a little bit of gravy over your filling. Make sure the filling isn’t piled too high or your crust may crack.
Carefully lay the other half of the crust over the prepared fillings. Press the spaces between each filling together with your fingers, starting in the center and working your way out. It’s ok if a little bit of gravy or whatever leaks out the side, but try to seal it best you can around the edges. Using a pizza cutter or a pastry cutter, cut the hot pockets into individual pies. Slice a few diagonal slits in the top of each. Transfer to a baking sheet and cook for 20-25 minutes, or until golden brown.
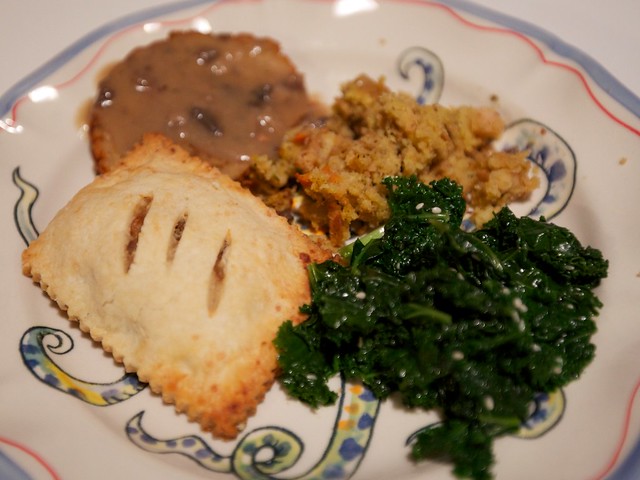
These would also be great with your holiday meal, they’re not just good for leftovers. Let’s face it, everything is better in a pie crust. We had ours with some celebration field roast, more stuffing and some kale.
The bottom line is that pretty much anything is good in these. Get creative. If you want them filled with sweet potatoes and dandies, I’m sure they’d be extra awesome. Feel free to keep them simple or get crazy.
Carrot Souffle
 I was looking for some inspiration for new things to try for Thanksgiving this year, so I asked my friends on twitter for some ideas. There were a few things that peaked my interest, but the one that caught my attention was the suggestion of a carrot souffle. Not only had I never heard of such a thing, I was instantly determined to make one.
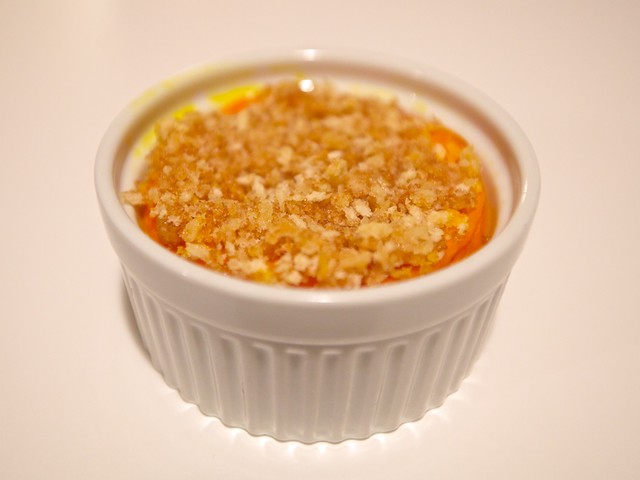
I wasn’t sure a vegan souffle would puff up and have those wonderful qualities that make a souffle what it is, but this sure did. It was a beautiful thing.
The recipe I based this on was a bit sweeter than I was interested in, so I cut down the sugar a fair amount. While it was lovely this way, you might want to forgo the sugar in the topping altogether and instead use some savory seasonings. I would go as far as to say that one might not even need the crumb top, but it’s also nice to have the crunch.
Also, I should note, that even though this is a recipe with carrots as it’s main ingredient, it isn’t the healthiest thing ever. But who cares? Make some as a side dish for Thanksgiving. Your guests will love it, I’m sure. And yeah, it’s got carrots!
Vegan Carrot Souffle
adapted from here
Crumb topping
- 1/2 cup bread crumbs
- 2 Tbsp brown sugar
- 2 tsp Earth Balance, softened
Souffle
- 1 cup firm tofu
- 1 lb carrots, cooked until soft (I boiled them)
- 1/4 cup apple cider
- 1 Tbsp sugar
- 3 Tbsp flour
- 1 tsp vanilla
- 1/2 cup melted Earth Balance
- 1/4 tsp nutmeg
- 1/4 tsp salt
- Clean, cut and cook your carrots. They should be soft but don’t need to be mushy.
- Preheat the oven to 350°
- Combine the bread crumbs, brown sugar and Earth Balance in a bowl using a fork. Set aside.
- Crumble your tofu into a food processor and mix until it is fairly smooth, scraping down the sides when necessary.
- Add the carrots to the food processor and blend together until the mixture is smooth, light and fluffy.
- Add in the remaining ingredients for the souffle and continue to blend until combined.
- Pour into souffle dishes, being mindful not to overfill as they will puff up a they bake.
- Bake for 40 minutes.
- Remove the dishes from the oven and sprinkle with the crumb topping. Bake for 8 minutes, turning on the broiler for the last minute or so to brown.
- Let cool for at least 10 minutes before serving.
Peanut Butter Cream Pie
 I’m super excited that my recipe for this wonderful Peanut Butter Cream Pie was featured on PETA’s Vegetarian Living Blog. I’m so happy to be able to share with so many people who are looking to know more about veganism.
I’m reproducing the recipe here for posterity, and of course to not leave out my dear readers who definitely need to know how to make this super sweet pie.

This peanut butter cream pie is a lovely balance of a flaky crust, a sweet peanut-butter filling, and a fluffy coconut-cream topping.
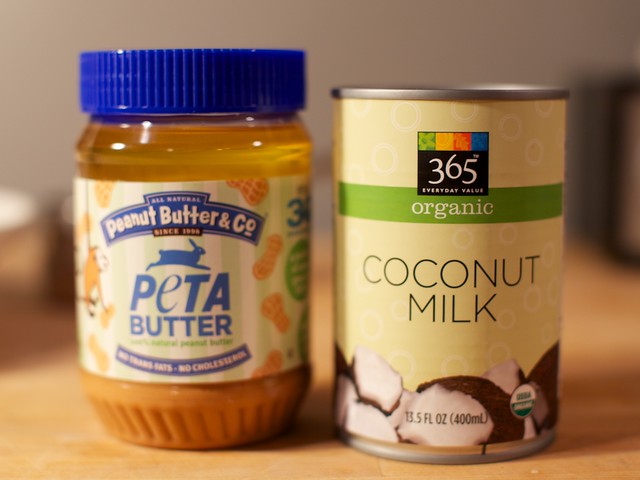
It takes a bit of advanced preparation but nothing more than putting a few cans of coconut milk in the fridge the night before. You’ll want to make sure that you use the full-fat coconut milk, as this is what makes the dense coconut cream topping. It’s my favorite. In fact, you can use it as a topping on just about any cake, ice cream, or pie. Trust me when I say that you’ll want to.
Let’s start with the crust, shall we? This is a versatile crust that you can use for any sort of pie, either savory or sweet.
Vegan Pastry Crust
1 1/4 cup flour
1/2 tsp. salt
1/2 cup nondairy butter
2-3 Tbsp. ice water
- Mix the flour and the salt together. Cut together the flour mixture with the nondairy butter using a fork, two knives, or a pastry cutter. Combine until the mixture resembles crumbs. Slowly incorporate the ice water until the dough just starts to hold together when pressed between your fingers.
- Shape the dough into a disk and wrap in plastic wrap. Refrigerate for at least 30 minutes.
- Preheat the oven to 425°F.
- Lightly dust your work surface and rolling pin with flour. Roll out the pie crust until the dough is about 1/4 inch thick. Roll from the center out so that it’s even.
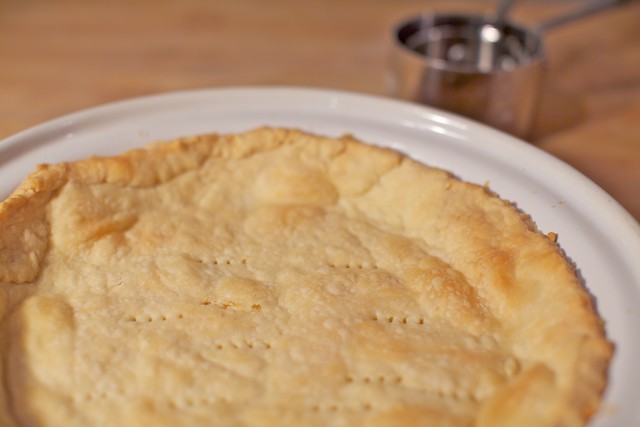
- Drape the dough over your rolling pin and transfer to a pie dish. Press the dough into the corners and trim off any excess hanging over the dish. Using a fork, poke a few holes in the bottom of the crust to prevent air bubbles.
- Bake for 15 minutes, or until the edges are golden brown.
- Set aside to cool. Make sure it cools completely before you assemble the pie.
Next, we’ll put together the filling. It is essentially two layers, but we start with the coconut cream, as it is the base for the whole thing. Ideally, it should be made in a stand mixer, if you have one, as this allows the cream to become extra fluffy. If you don’t have a stand mixer, you can still make it with an electric hand mixer; just be sure to at least double the beating time. You want to incorporate as much air as possible into the mix. Also, I recommend using a metal bowl if possible.
As for the peanut butter, choose whichever type you like best. I like a creamy pie, so I go with creamy peanut butter. If you like crunchy, though, I bet that would be great. Just be sure to skim off any excess oil at the top of your jar. You can always add it back into your peanut butter jar later or use it for cooking up some stir-fry. If you use an unsalted peanut butter, add an additional 1/4 teaspoonful of salt to the mixture if you like.
OK, now let’s get to that pie-making!

Pie Filling
3 cans coconut milk
1 1/2 cups powdered sugar
3 tsp. vanilla extract
1 cup peanut butter
- The night before you are planning to make this pie, place the coconut milk in the fridge.
- Open the cans of coconut milk, skim off the thick cream at the top of each jar, and put into the bowl of your stand mixer. (I’m sure there is a great use for the clear liquid at the bottom, although I haven’t figured one out yet.)
- Beat on high until the mixture is fluffy and thick.
- Add in 1 cup of the powdered sugar and mix until all the sugar is incorporated, scraping down the sides as necessary. Beat until fully combined. Add the vanilla extract and beat for 3 to 5 more minutes.
- Set about 2/3 of the mixture aside in a cool place. This will be the topping.
- Add 1/2 cup of the peanut butter to the mixer and beat until fluffy. Add the remaining 1/2 cup powdered sugar and beat until combined. Finally, beat in the last 1/2 cup of peanut butter until creamy.
- Spread the peanut butter mixture over the bottom of your cooled pie crust. Gently spoon the remaining whipped coconut cream onto the peanut butter layer. Refrigerate for at least an hour before serving.
Enjoy!
Green Bean Casserole
 Last year we attended a mondo Thanksgiving potluck and one of the recipes we left dreaming about was for this fantastic Green Bean Casserole.
I have never particularly had very strong feelings either way about green beans but this dish will make you want to eat them day in and day out. Smothered in a flavorful and slightly cheesy sauce, these green beans will steal your heart (and your belly I suppose).

Oh and did I mention, they’re topped with those awesome fried onion bits. Yum!
With Thanksgiving just around the corner, I wanted to make a few dishes early and stretch out the tastiness. Why only eat Thanksgiving food on one day a year?
That being said, I’ve eaten this dish for 3 meals in the past 2 days. It’s that good.
It’s also incredibly easy to make, almost as easy as it is to eat. I doubled the recipe to make it last even longer and just increased the cooking time a bit and it came out fantastic. Here is the recipe!
Vegan Green Bean Casserole
recipe from here
- 1/4 cup vegan margarine
- 1/4 cup flour
- 1 1/2 cups vegetable broth
- 1 tbsp soy sauce
- 1/2 tsp garlic powder
- 1 tsp onion powder
- 2 tbsp vegetable oil
- 1/4 cup nutritional yeast
- 2 14 ounce cans French style green beans, well drained
- 1 3 ounce can French-fried onions
Pre-heat the oven to 350 degrees.
In a small saucepan, melt the margarine and add the flour. Add the vegetable broth, soy sauce, garlic powder and onion powder, stirring frequently, until sauce thickens. Whisk in the vegetable oil and nutritional yeast.
Toss together the sauce and green beans in a casserole dish. Bake for ten minutes. Remove and sprinkle the French fried onions on top of the casserole. Bake for another ten minutes.
Pumpkin curry
 It’s pumpkin season. Hooray!
This is the year I had to actually roast one, not just get the puree from a can. I wanted to make something different than the usual pumpkin bread or the like.
I would like to introduce you to my version of pumpkin curry…also lovingly known as the orangest of orange curries.
So it started innocently with this little pumpkin. It was sliced in half, all it’s guts removed and then placed face down on a baking sheet.
Baked in a preheated oven for about 45 minutes until it was tender and left it to cool.
Then the fun part…peeling the skin off. Well, I thought it was fun.
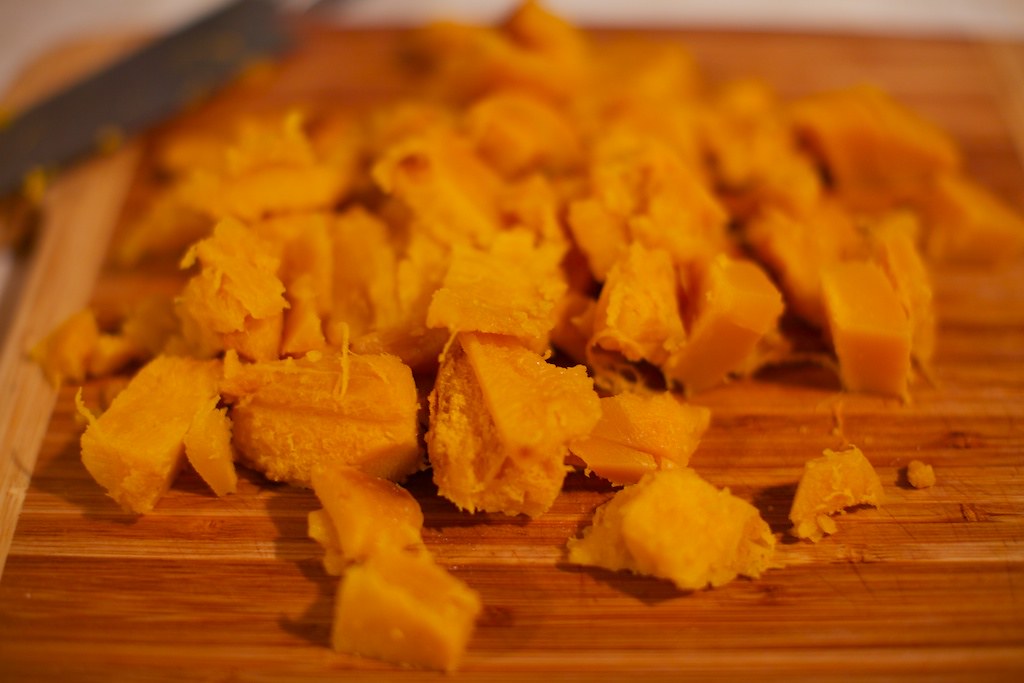
Then this pumpkin got chopped up and ready to meet it’s other orange friends…
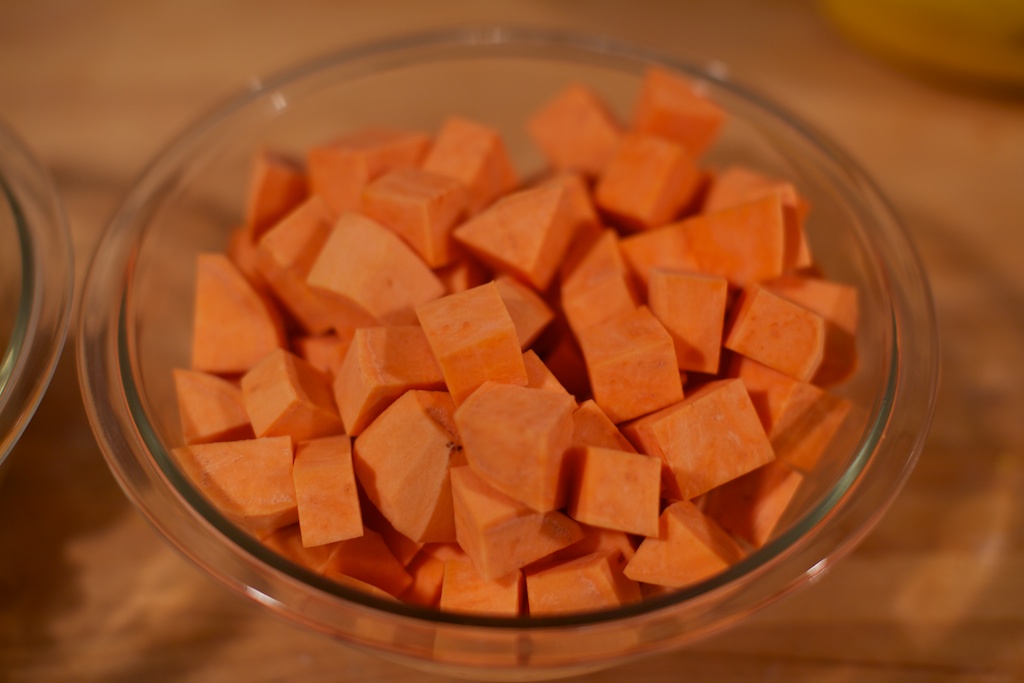
Two sweet potatoes. (Also appropriately chopped for the occasion.)
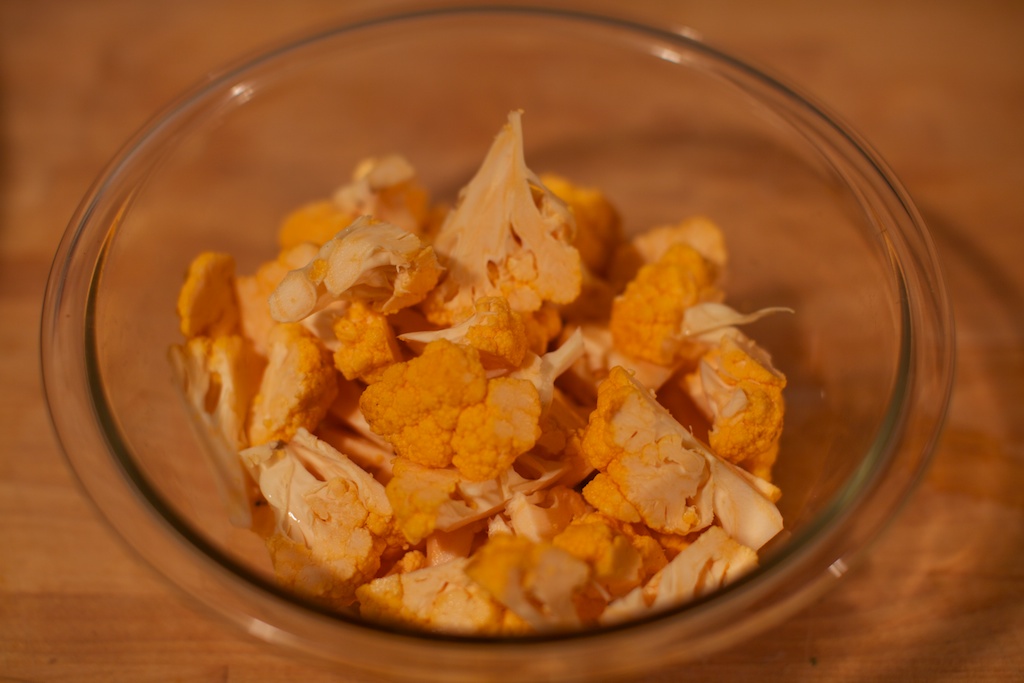
Even an orange cauliflower showed up for the party.

Where was I going with this?
Sorry I was hypnotized by the swirl of coconut milk and curry paste.
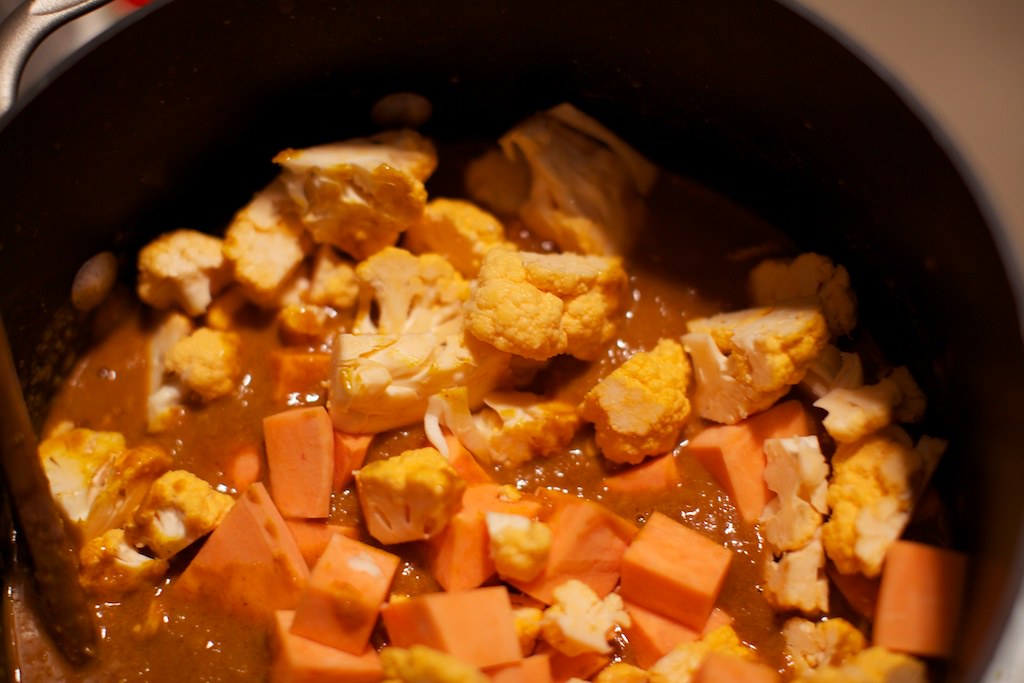
There’s all the orange veggies having a party in a pot. Making curry love. Ok, that’s creepy.
Some carrots were supposed to come to this party too but they may have been eaten on the way there.
Oh dear. I think it’s past my bedtime. I’m writing about vegetable parties.
Here comes the recipe!
Orangest of Orange Pumpkin Curry
1 roasted pumpkin innards
2 sweet potatoes chopped
1 head of orange cauliflower
2 Tbsp coconut oil
3 gloves of garlic, minced
2 cans of coconut milk
1/3 cup curry paste, or more if you like
1 cup vegetable broth
Heat oil in a stock pot over medium heat. Add garlic and curry paste and stir to combine for about a minute. Carefully add the coconut milk and then the vegetable broth and stir together. Add in the pumpkin. I decided to smoosh it in, but you could leave it as chunks if you preferred. Add in the remaining chopped vegetables.
Let simmer covered for about 30 minutes, stirring occasionally. When your veggies have softened, remove lid and simmer for 5 to 10 more minutes.
Serve over rice.