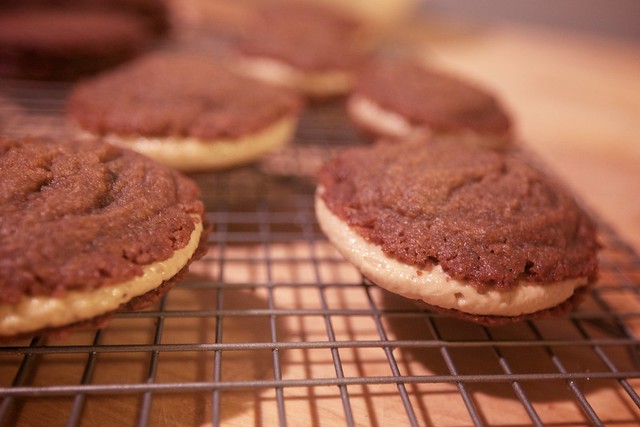
Molasses sandwich cookies
 Let me just start off by saying these cookies are like crack. You have one, and even though they’re so sugary sweet you instantly want another. They’re just insanely delicious. If you want to impress your friends and family with some really easy to make, but seemingly fancy cookies, make these.
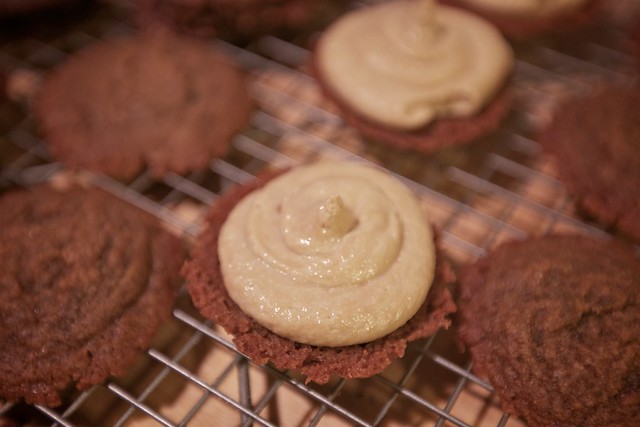
They’re chewy and crispy all at once, with a lovely holiday flavor. They would be perfect as dessert but also with a cup of coffee. They’re just so darn good though, you could really eat them anytime, and trust me, you’ll want to.
I had a bit of trouble with my first batch because I misread the recipe entirely. On my second go around, they came out as beautiful as they tasted, no crumbly edges.
Molasses Sandwich Cookies
adapted from Martha Stewart, found here
- 1 1/2 cup flour
- 1/2 tsp baking soda
- 1 tsp ground cinnamon
- 1/2 tsp salt
- 1 cup packed brown sugar
- 1/2 cup Earth Balance, room temperature
- 1/4 cup molasses (not blackstrap)
- 1/8 cup water
Preheat your oven to 350° and line 2 baking sheets with parchment paper. Whisk together dry ingredients in a medium bowl; flour, baking soda, salt, and cinnamon. In another bowl, cream together the Earth Balance and sugar with an electric mixer. Mix in the molasses until combined. Add the flour and mix until it forms a dough and then add in the water.
Using a tablespoon, scoop balls of dough onto your prepared baking sheet, giving each about an inch and a half between cookies. Bake for 12 – 15 minutes, until the center is firm.
Let cool on the baking sheet for 5 minutes. Transfer to a cooling rack to let cool completely. Prepare the filling.
Molasses filling
- 12 Tbsp Earth Balance, room temperature
- 3 Tbsp molasses
- 2 cups powdered sugar
Beat together the Earth Balance and molasses till smooth. Gradually add in the powdered sugar and beat until slightly fluffy. If you desire a firmer filling, add more powdered sugar.
Using a knife, a spoon, or a pastry bag, spread a bit of the filling on the bottoms of half of your cookies. Press another cookie onto the filling to make each sandwich.
Wedding dress details
First I just have to get one thing out of the way…
Shawn Bannon, if you are reading this, please stop.
Just scoot on over to another website please and thank you. We made a deal.
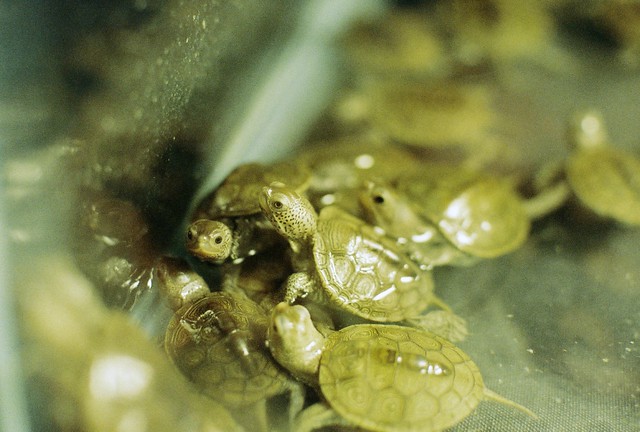
The turtles are just a distraction.
Now that that’s done with…for those of you still here…I want to share some details of my wedding dress. Woah!

It’s still not complete, but I’m bad at keeping secrets. So here are a few little hints of what it will be. Feel free to let your imagination run a little wild.
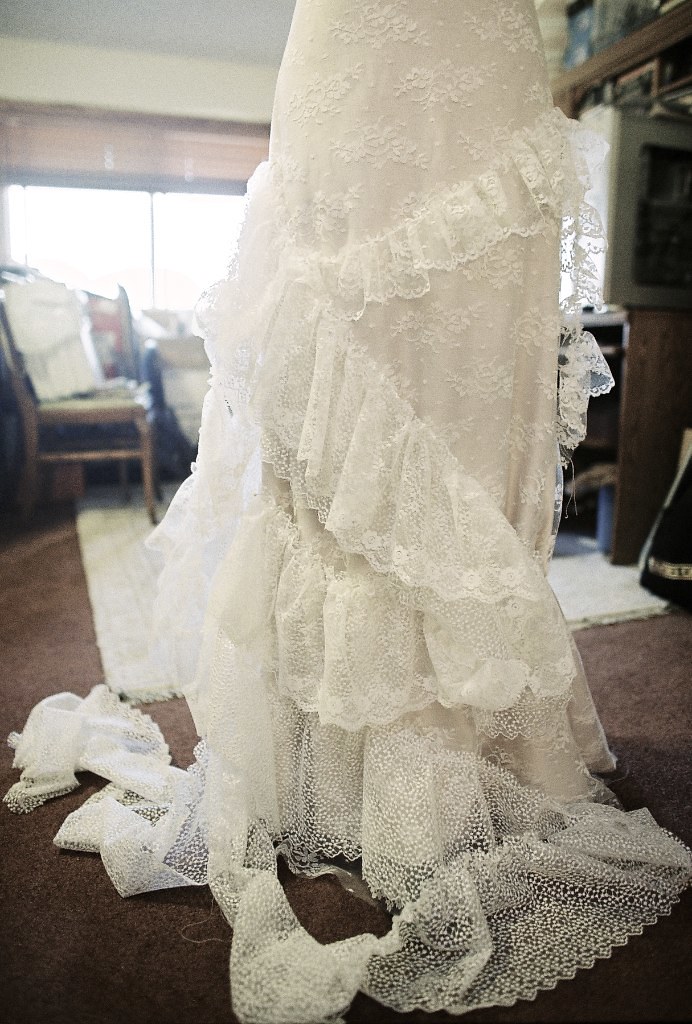
There’s lots of lace. More than you see here even though it’s strewn about the floor.
I have to say, with all the things that need to be done and projects that need to be worked on, looking at these photos make me feel oh so much better. Pretty pretty pretty.
You want to see what the dress looks like?
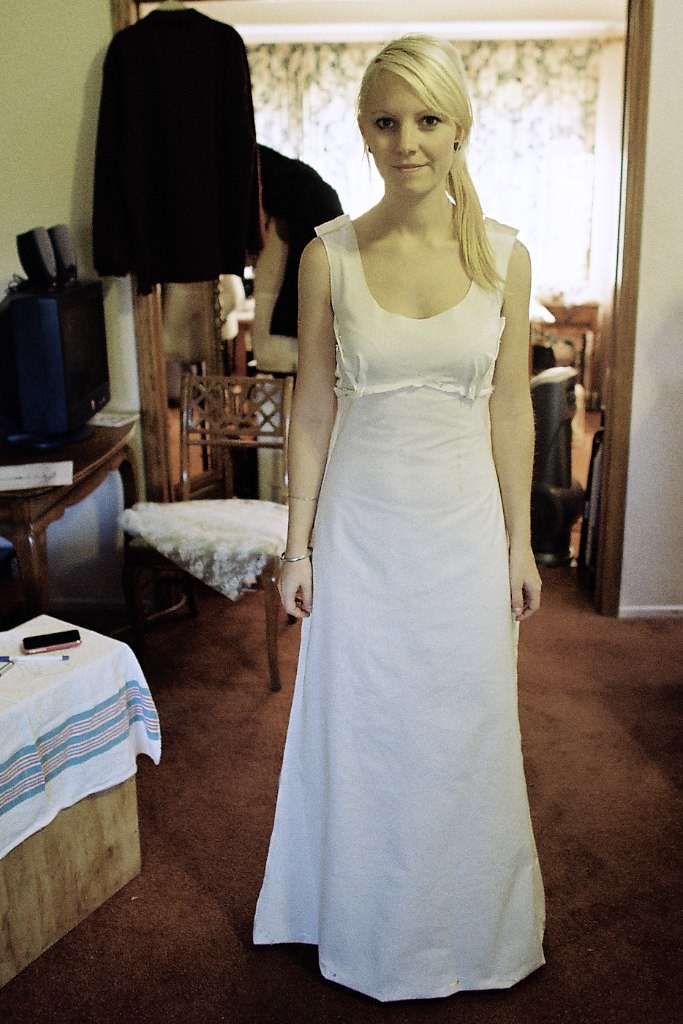
Yep, there it is.
It’s pinned on me. The lace is on it’s way. Needless to say, I’m rather excited.
This is probably the last peek you’ll see until after the wedding.
66 days and counting…
Unique LA
 This weekend there was not one but two craft fairs going on in Los Angeles. It’s time like these that I wish I could clone myself so that I could have attended both. While I missed Renegade this year, I did get to browse the enormous Unique LA. I’ve been attending for the past few years and every event is massively bigger than the last. Viva la handmade revolution!
I wanted to share a few of the shops I was able to snap photos from, as well as a few I wasn’t able to. Like those adorable felt whales from Janie XY. So freaking cute. I have a major weakness for felties, which is probably why our apartment is teaming with them.
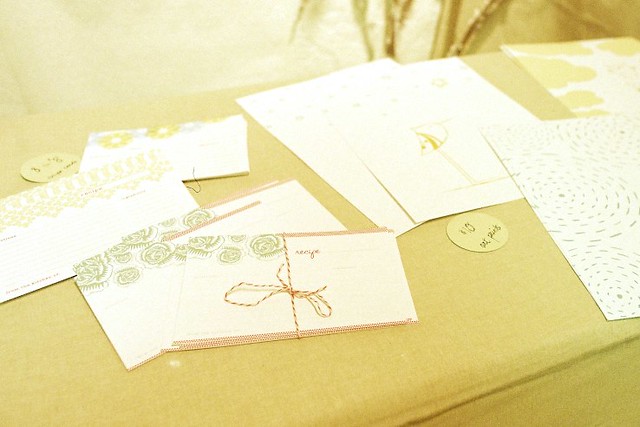
One of the first booths I saw and loved was the paper goods from Shortstack Press. Very sweet designs plus I got to chat with Allison who was super nice. I loved the recipe cards.

There was a photo booth set up by Oh! Snap. Definitely the coolest photo booth I’ve ever seen. Everyone wanted their photo with the snow monster.
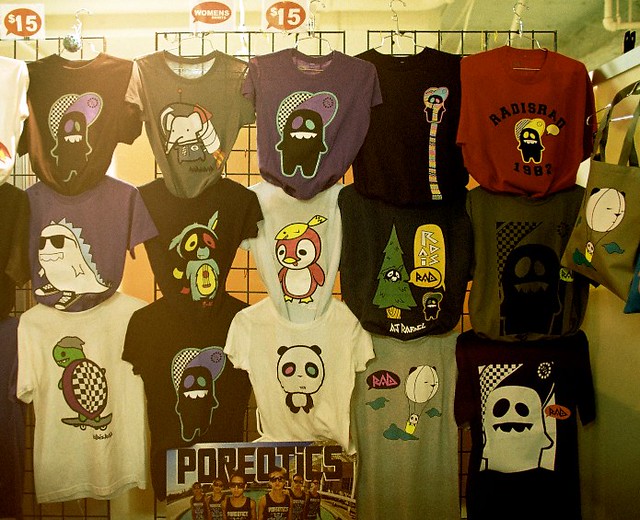
How cute are these shirts from Rad is Rad? Super cute!
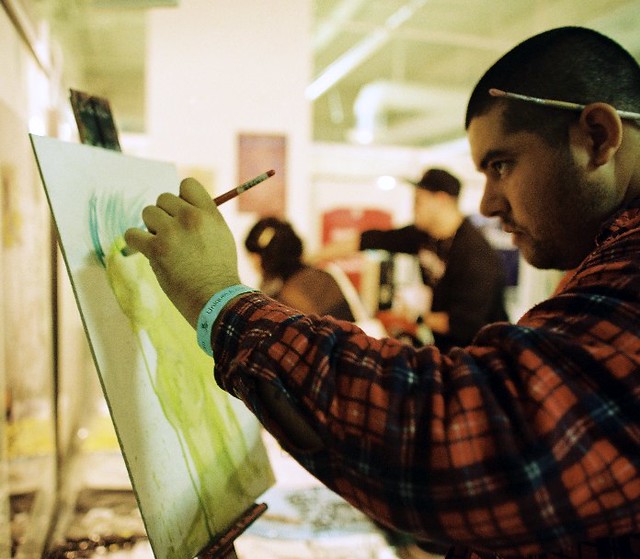
Dave from Taco Comics was painting away during the show. It was cool to see the work in progress.
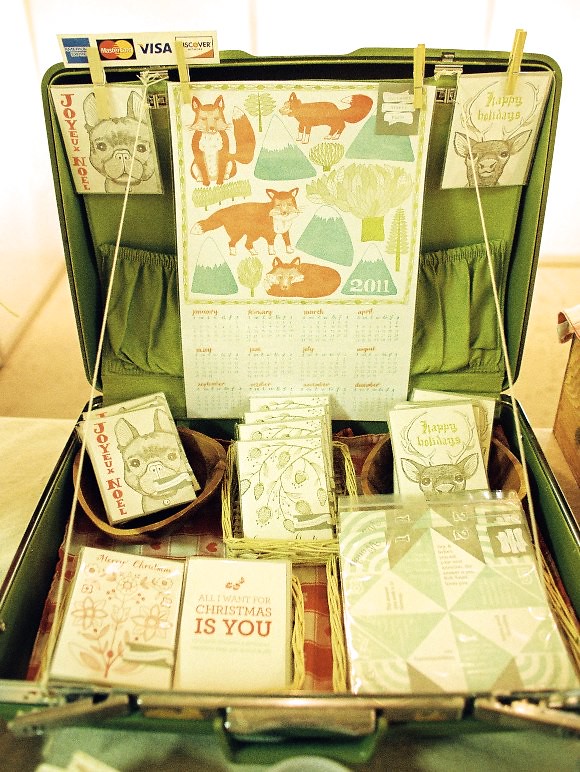
Sycamore Street Press had a lovely set up. Wonderful holiday cards, a great 2011 calendar and foldable fortune teller.
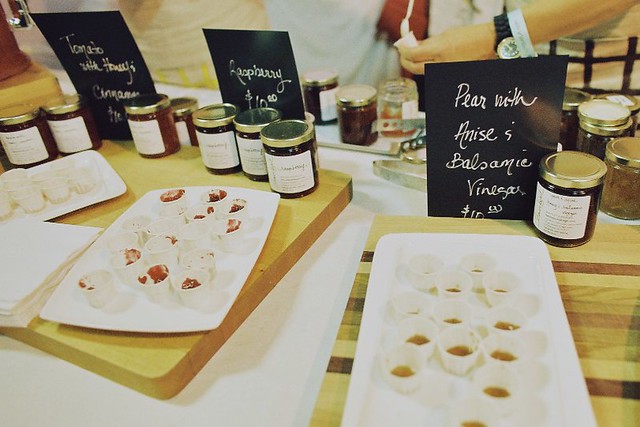
There were some great home made jams from Lemon Bird. They had some seriously ingenious flavors.

One of the most gorgeous booths was the one shared by Liz Huston and Amy Reed. Liz had some amazing artwork and Amy is the maker of Dust jewelry. I wanted to live in their booth. Go check our their work!
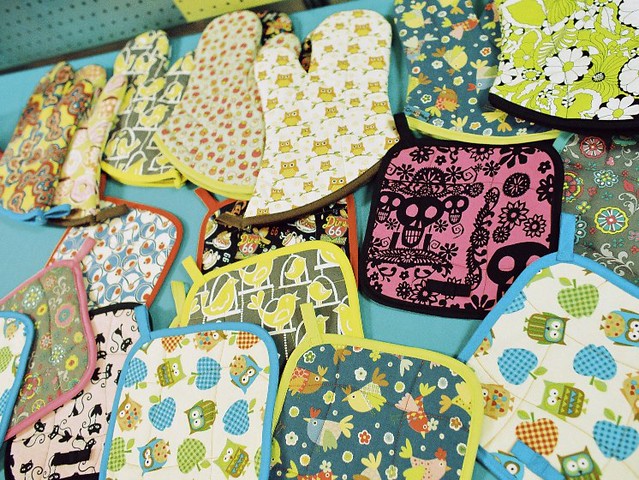
These cute pot holders were from collisionware. All the owls are great. These could totally spice up your kitchen.

I also got to hang out for a bit with the rad Sara Tea while she DJ’ed. She kept everyone’s spirits up while they checked out the shops.
That’s all for my photo round up, but I have a few more shops to mention…
The most beautiful jewelry from Melissa Loschy. I really wanted one of her necklaces, but was shopping for gifts, not myself.
Super hot lingerie from Purrfect Pineapples who I finally got to meet. I love Erika’s designs and they’re all cruelty free.
Rad shirts from Timber Preservation Society.
There was even a vegan pie from I Heart Pies.
Lovely vintage badges from Crown and Badge Salvage Company.
It was really fun, I wish I could have roamed around all day peeking in the shops and checking out all the crafts. Can’t wait for the next one.
Mexican Hot Chocolate Cookies
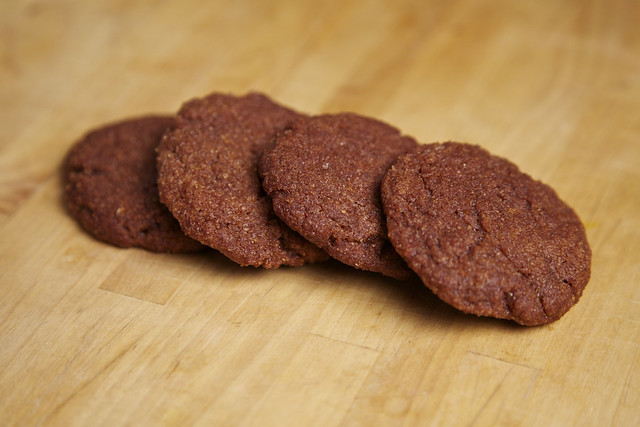
 So far in my cookie journey, this batch was the easiest and most fun to make. They were also my least favorite, which isn’t that much of a criticism since I think this week’s other cookies have been amazing. They came out a little doughy and didn’t have the crackly tops I was looking for. They were good, but not perfect. I imagine I’ll be noodling with this recipe to perfect them. It may have just be an issue with my oven temperature, as they were a bit brownie like, which isn’t bad at all, just not what I was looking for in these particular cookies.
On the other hand, after I made these I realized there is a perfectly good recipe in Vegan Cookies Invade Your Cookie Jar that I neglected to check out. In fact, you can see the recipe with a video of the infamous Isa Chandra. So perhaps I’ll just make those instead of trying to fix these. Maybe not though as I like to figure things out for myself sometimes.
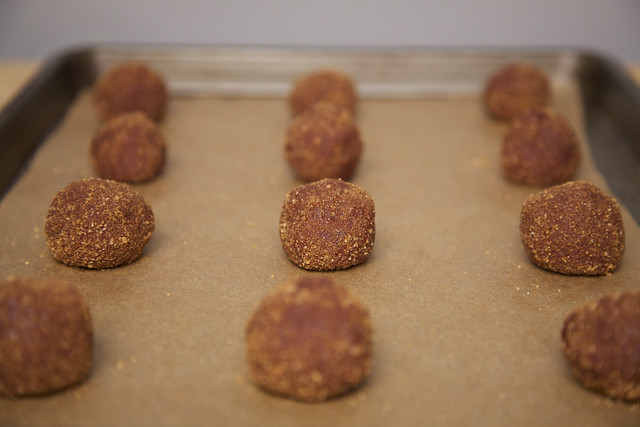
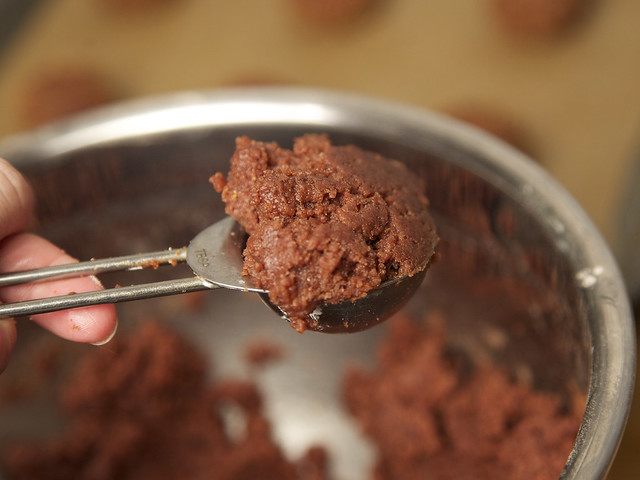
Basically these are like chocolate snickerdoodles with a hint of spice. Which is awesome. The original recipe said to roll them into balls and let cook like that, but I found they came out much better when pressed into disks before hand. You can see my first batch had a lot more height than the second (below).
Please do try these though, perhaps you’ll have better luck than I.
Or you can try some of this weeks other cookie recipes
Mexican Hot Chocolate Cookies
adapted from Martha Stewart, found here
- 2 1/4 cup all purpose flour
- 1/2 cup unsweetened cocoa powder
- 2 tsp cream of tartar
- 1 tsp baking soda
- 1/2 tsp salt
- 1 cup Earth Balance
- 1 3/4 cups sugar, divided
- 1/4 cup water
- 2 tsp cinnamon
- 1/4 – 1/2 tsp chili powder
Preheat oven to 400° and line two baking sheets with parchment paper. Whisk together flour, cooca powder, cream of tartar, baking soda, salt and arrowroot powder. Make sure there are no clumps of cocoa remaining. In another bowl, using and electric mixer, mix the Earth Balance and 1 1/2 cups of sugar until fluffy. Gently mix in the water and then flour mixer until a dough forms.
Combine the remaining 1/4 cup sugar with cinnamon and chili powder in a separate bowl. Roll the dough into golf ball sized balls between your hands. Press each ball until flattened and then coat in the sugar mixture. Place approximately 2 inches apart on you baking sheets. Cook for approximately 10 – 12 minutes, and remove when they begin to crack. Let cool for 5 minutes on the pans and the remove to let cool on a wire rack.
Oatmeal Cranberry Cookies
 I think oatmeal cookies get a bad wrap. Especially the vegan variety. Granted there are some pretty bad oatmeal cookies out there, but it doesn’t have to be that way. In fact one of my favorite cookies of all time was the oatmeal chocolate chip cookies my aunt used to make. I have yet to perfect a vegan version of those though. They were unbelievably good. It just goes to show you, it’s not just the recipe, but the technique.
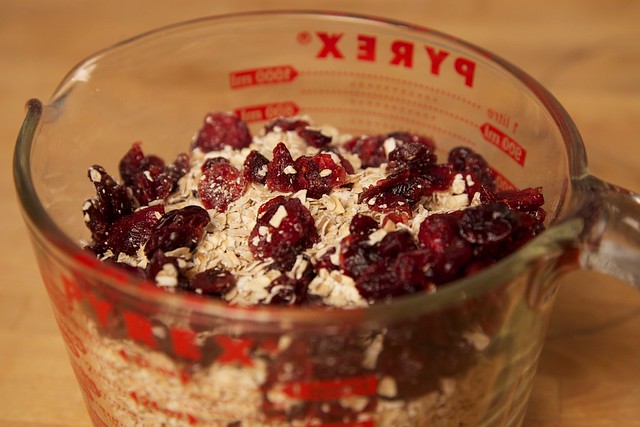
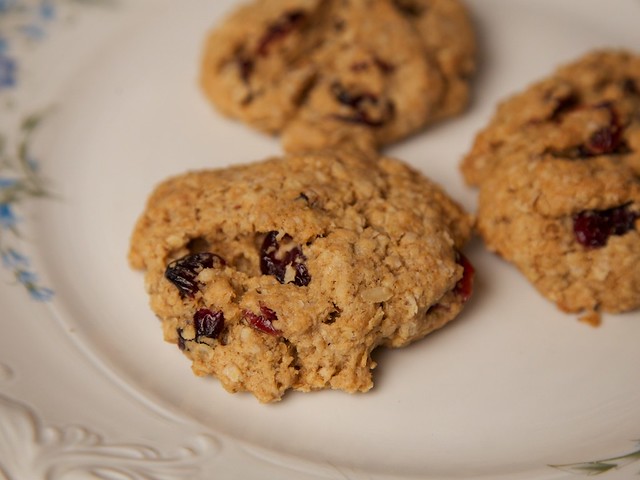
I was particularly drawn to this recipe because it replaced those pesky raisins with cranberries, which is obviously WAY better, not to mention much more holiday appropriate. They’re soft in the center and just ever so slightly cakey. Not to mention insanely yummy. I think you should just make them and let the cookies speak for themselves.
Oatmeal Cranberry Cookies
adapted from Martha Stewart, found here
- 2 cups all purpose flour
- 1/2 tsp salt
- 1/2 tsp ground cinnamon
- 1 tsp baking soda
- 2 Tbsp arrowroot powder
- 1 Tbsp vanilla extract
- 3 Tbsp milk
- 1/2 tsp vinegar
- 1/4 cup water
- 1 cup Earth Balance
- 1 cup packed brown sugar
- 1/2 cup granulated sugar
- 3 cups old fashioned oats
- 1 cup dried cranberries
Whisk together the dry ingredients: flour, salt, cinnamon, baking powder, baking soda. Beat together the Earth Balance and sugars in an electric mixer, using the paddle attachment. Beat until fluffy. Lower the speed on your mixer and slowly add the liquid ingredients, continuing to beat until well combined. Gradually add the flour mixture and beat until a dough forms. Take the bowl out of the mixer and then stir in the cranberries and oatmeal by hand. Cover the dough with plastic wrap and refrigerate for at least an hour.
Preheat oven to 350° and prepare two baking sheets with parchment paper. Using your hands, shape 2 tablespoons of the dough into disks and place an inch apart on your baking sheets.
Bake for 16 – 18 minutes, rotating half way through. They should be browned on the edges but still soft. Let cool on the baking sheet for 5 minutes and then let cool completely on a wire rack.